April 1, 2012: Dash Clean Up

1936 Packard - Under the Dash

Under the Dash

This is the before shot of the dash before pulling everything out.


1936 Packard - Dash

Dash - Instruments Removed

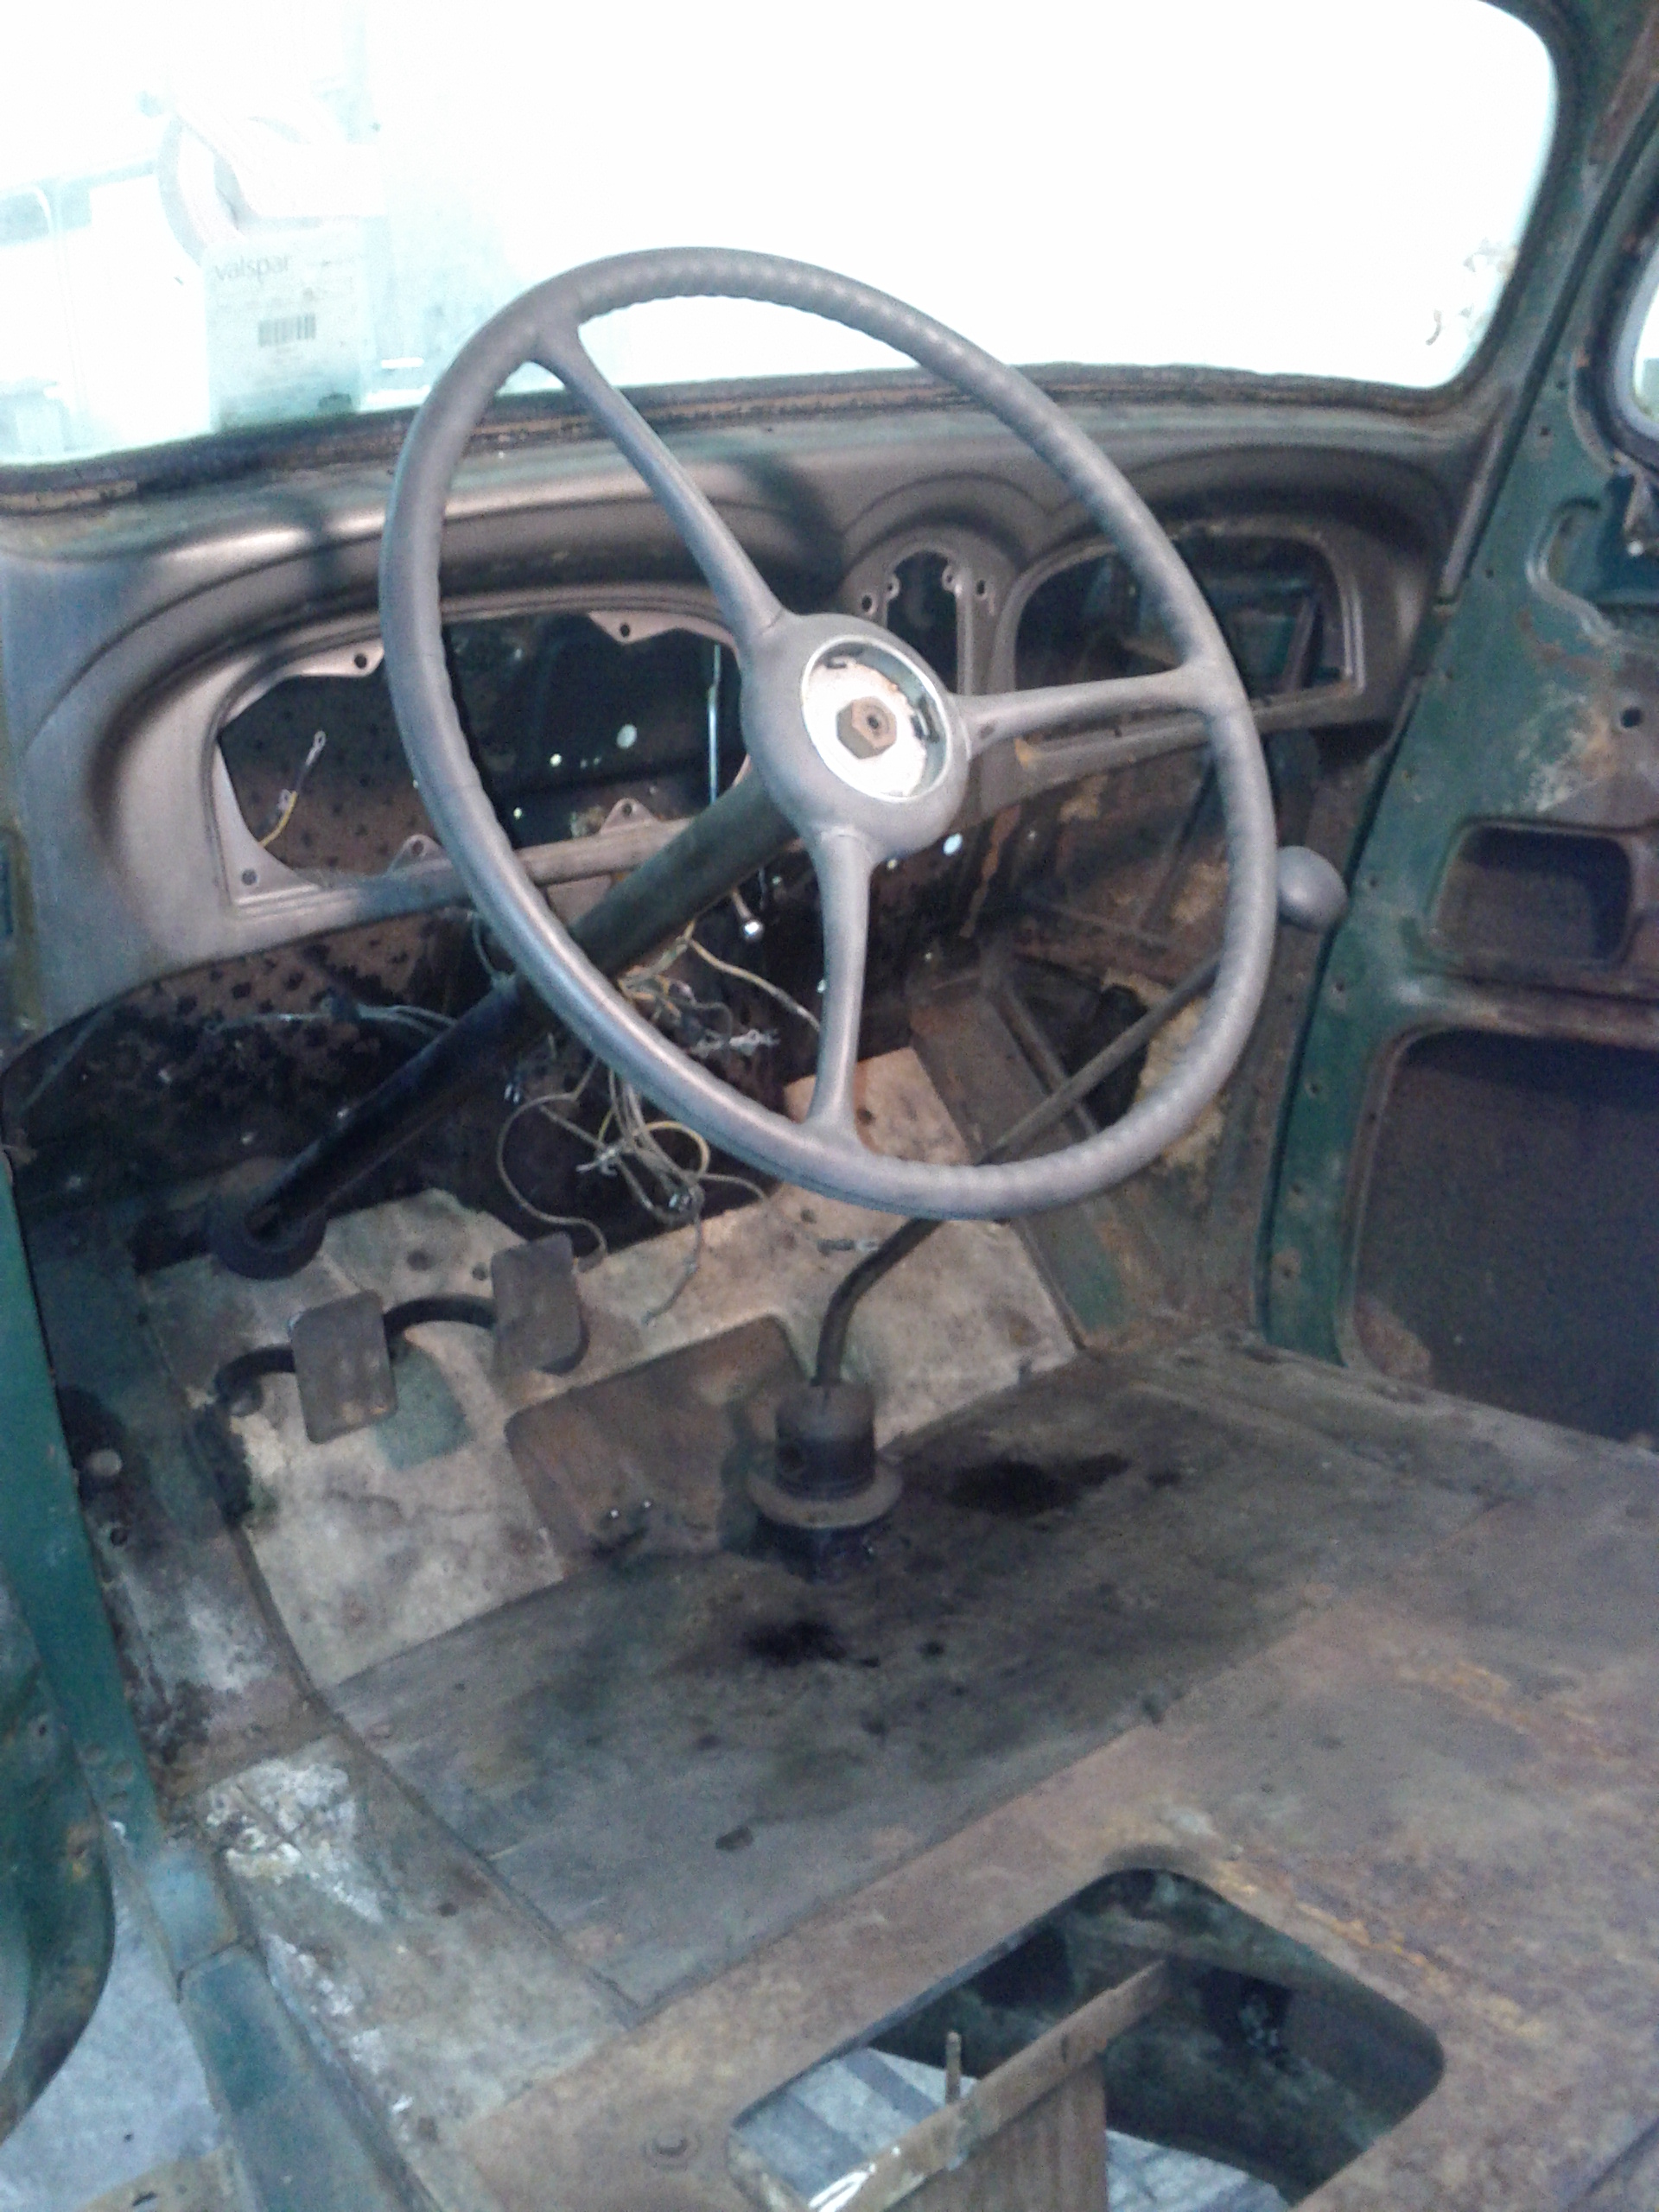
Shots of the dash with the instruments removed.  Radio Head pulled, start button, ignition, radio box, and horn button. 
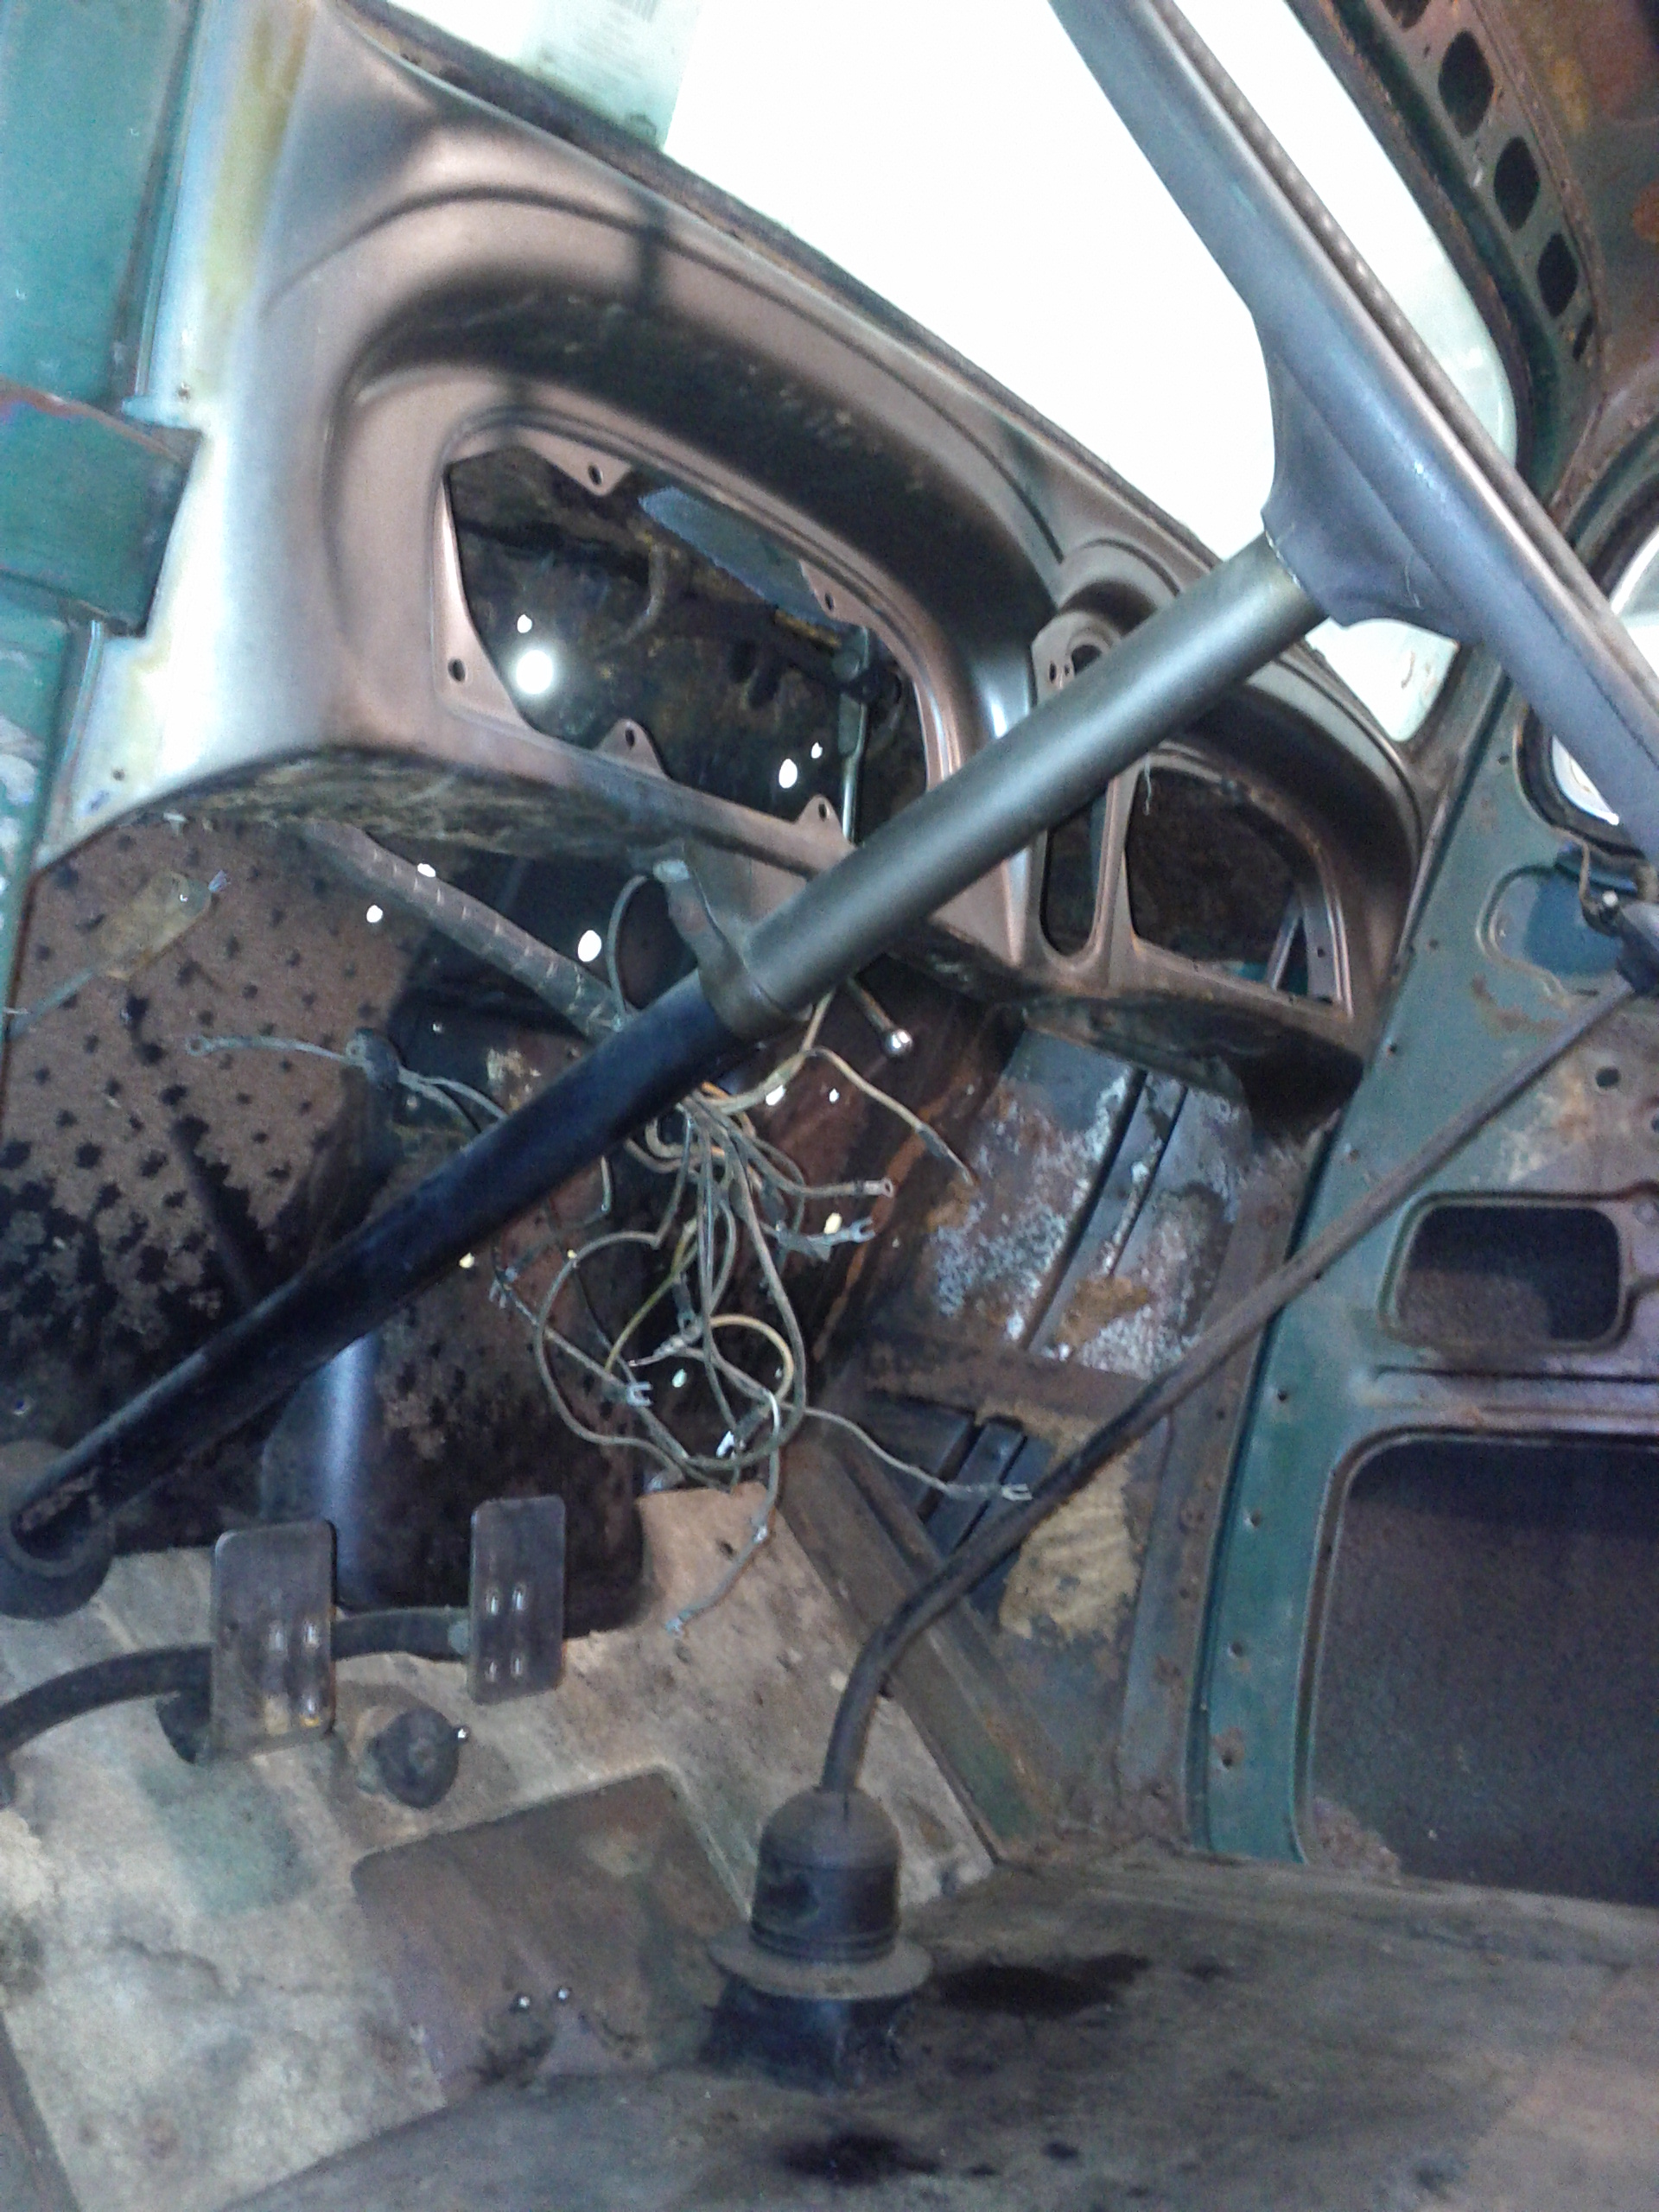


1936 Packard - Under the Dash

Under the Dash


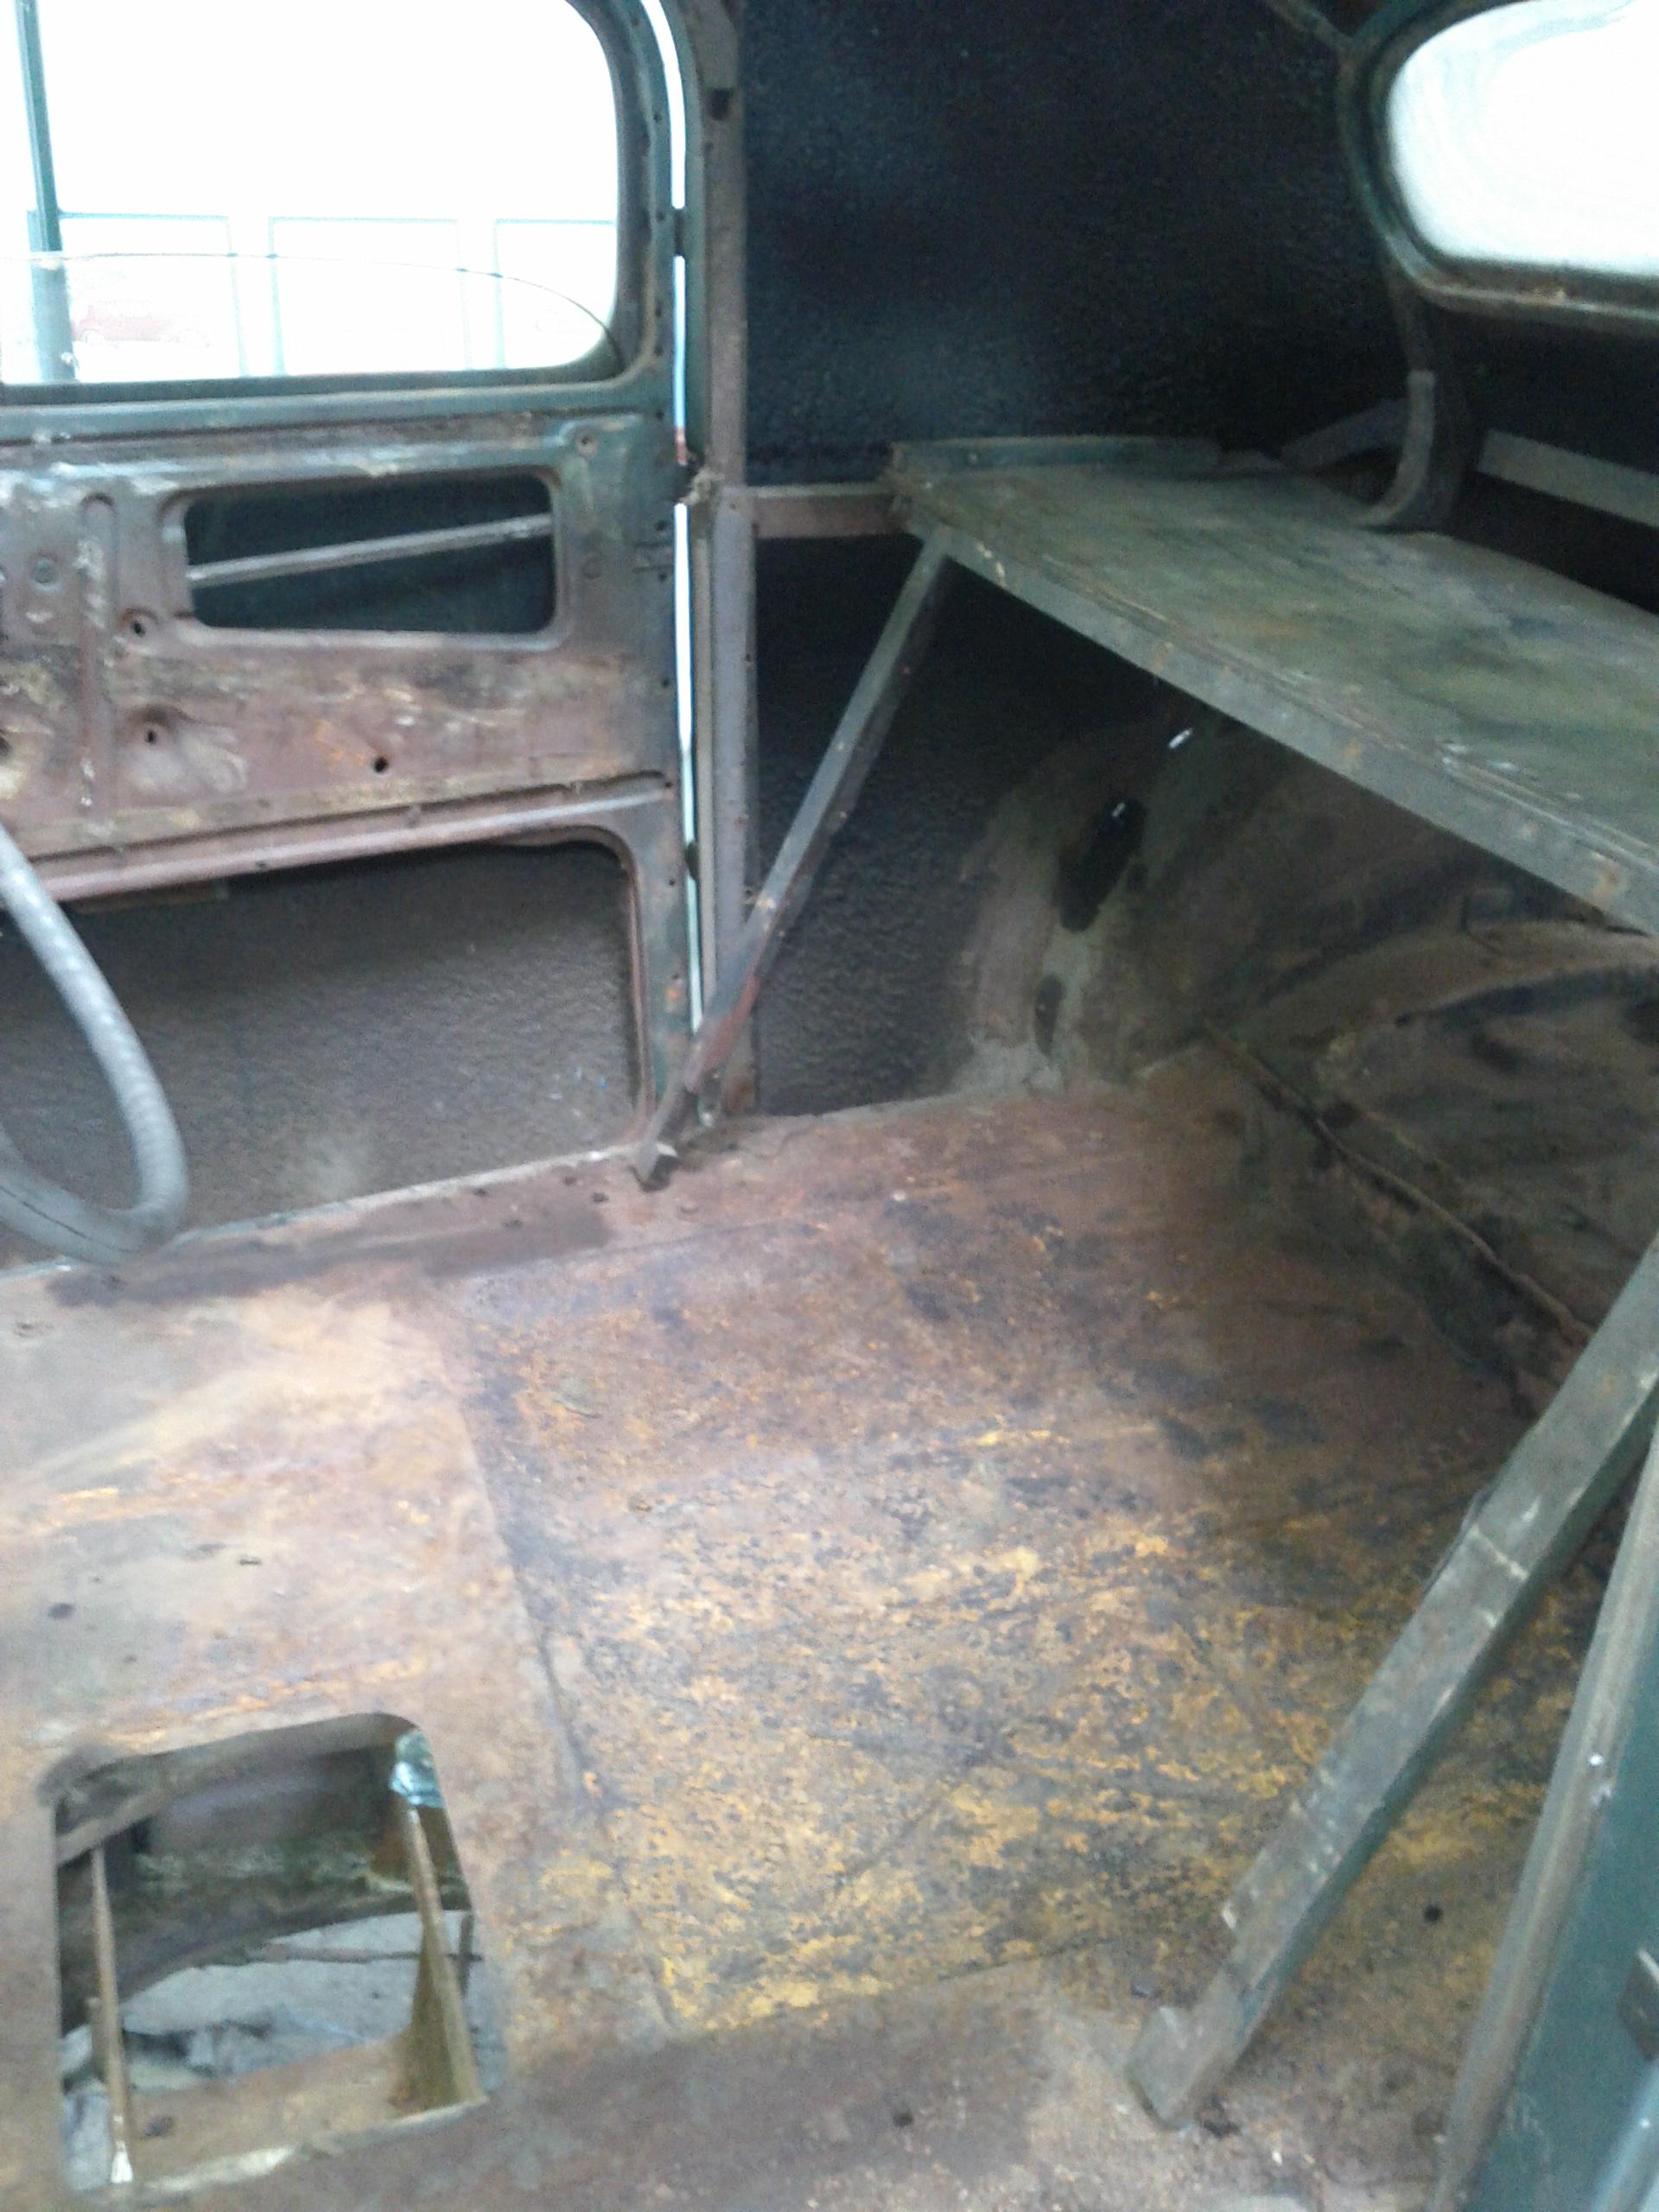
Under the dash.  Getting a better look at other parts we pulled today, the hand brake, firewall panel, and the interior body panels from both driver and passenger side.
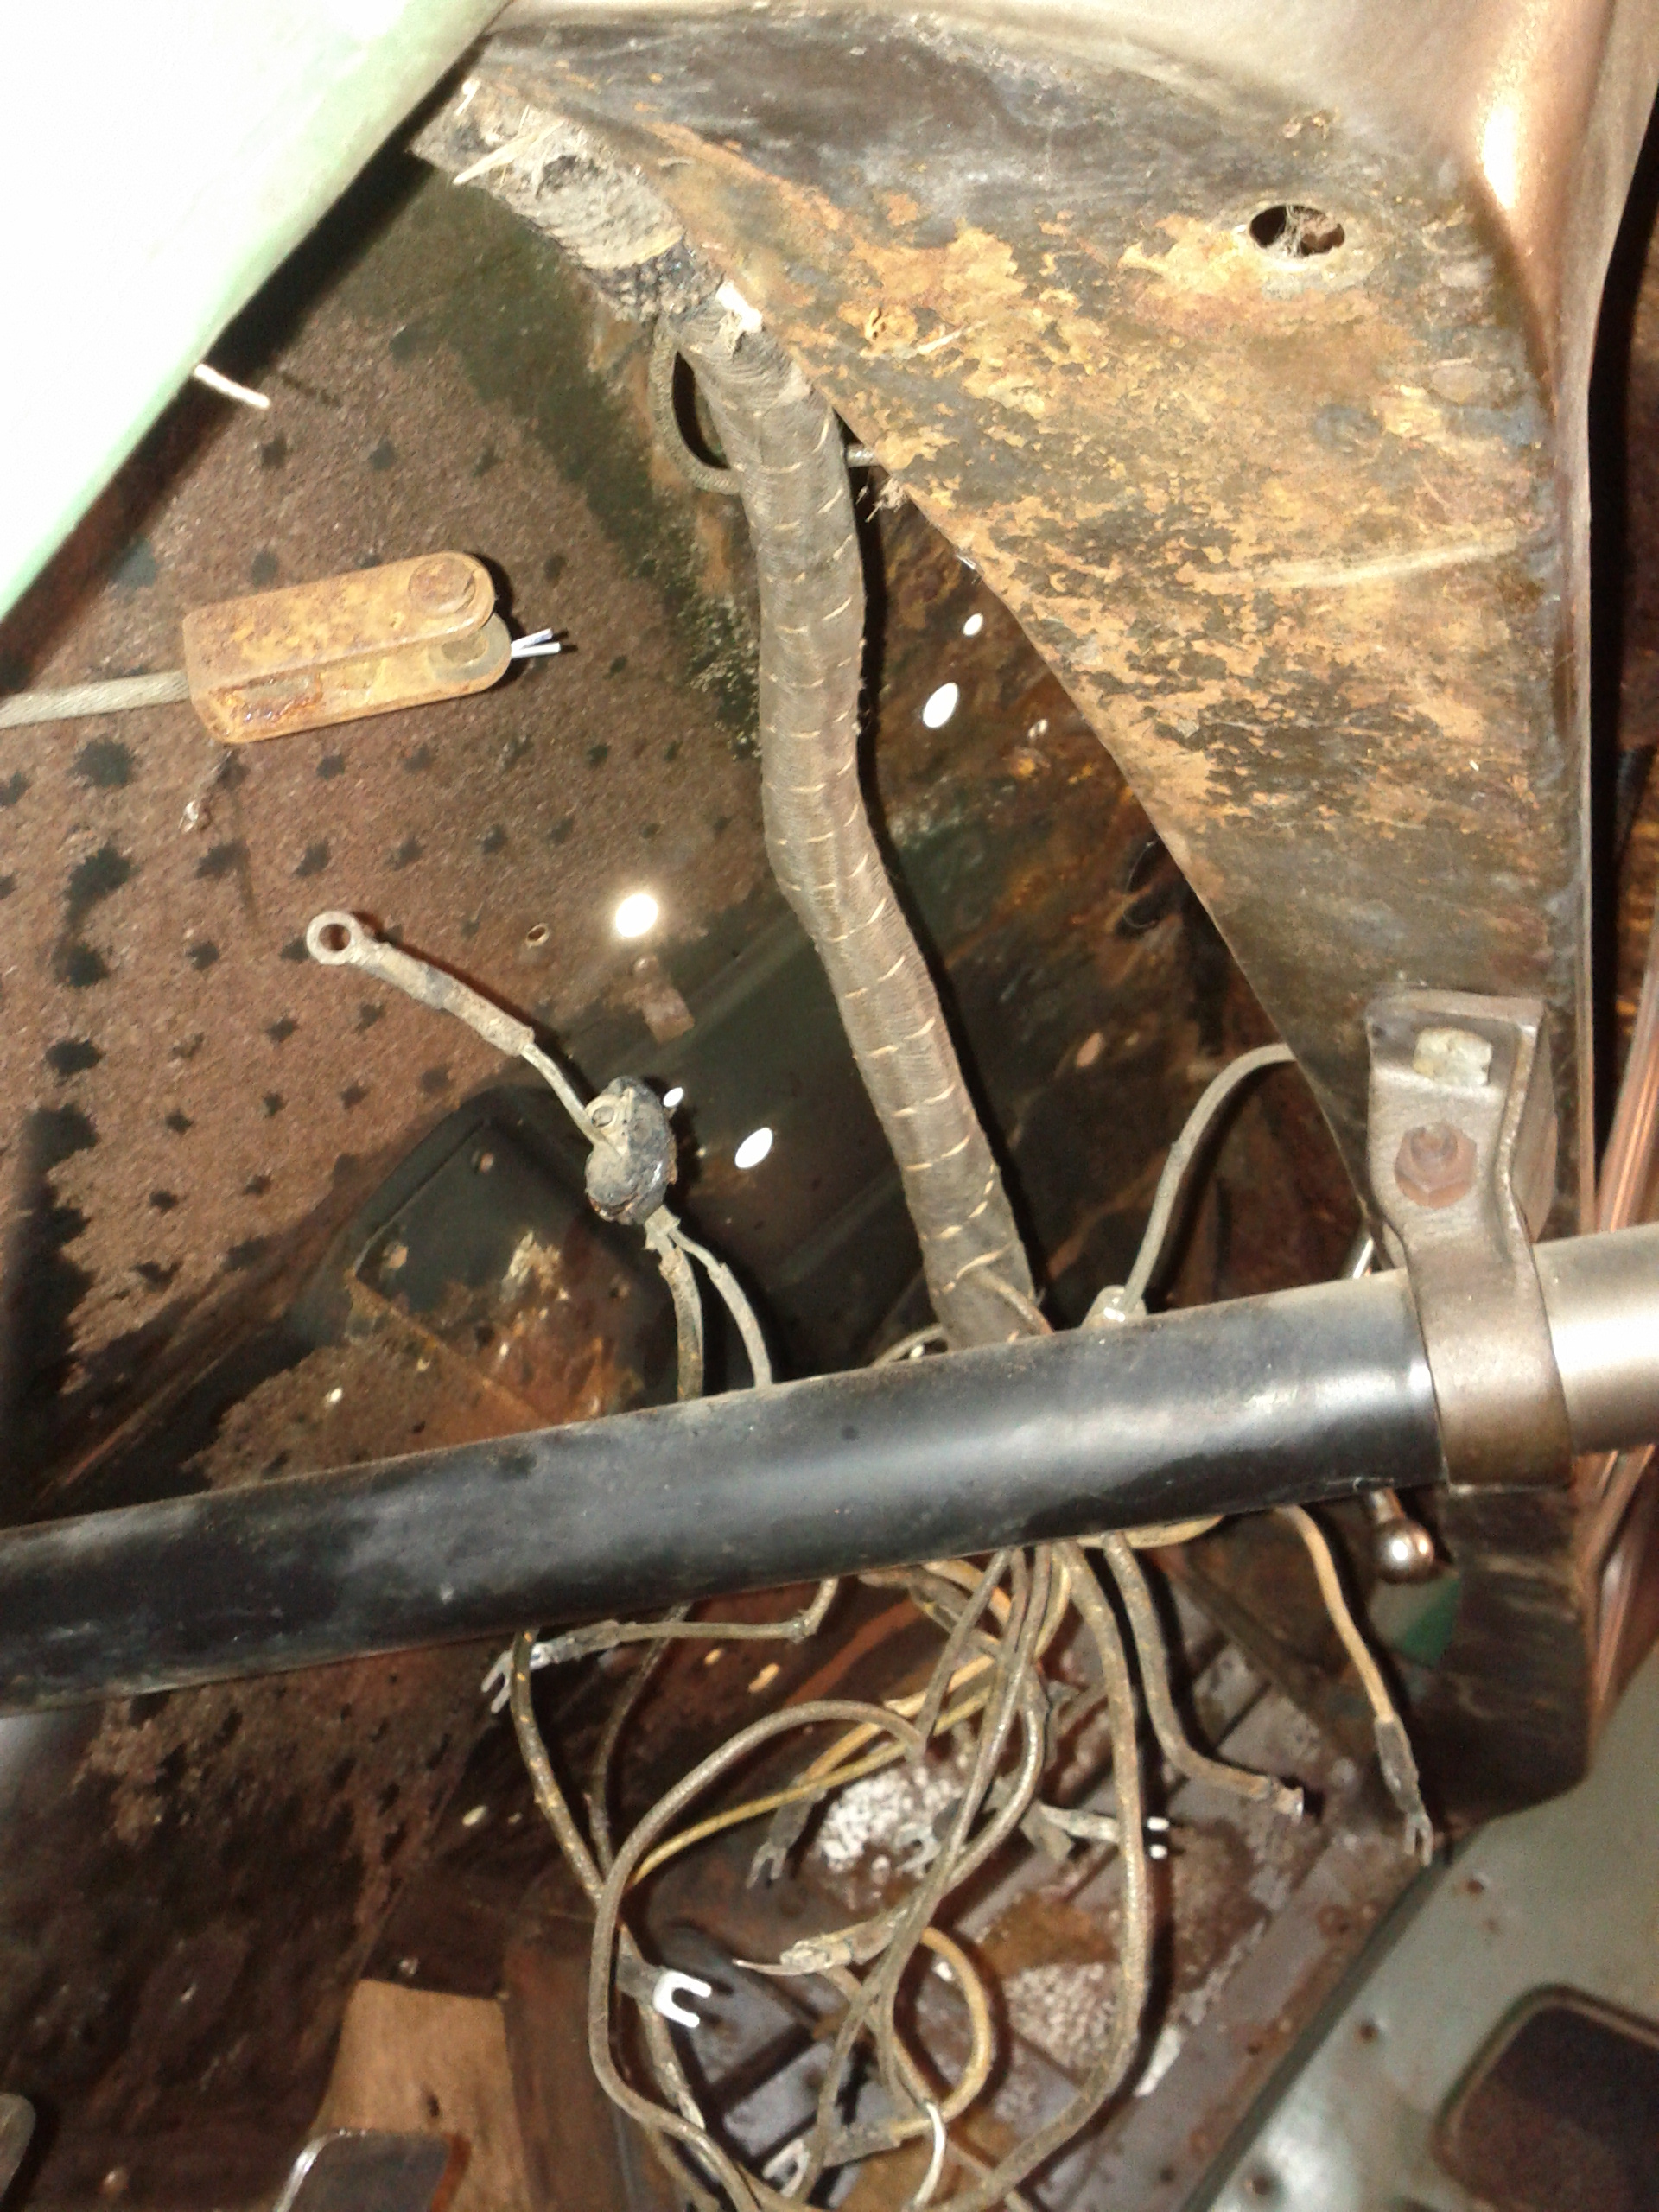


1936 Packard - Under the Dash

Under the Dash


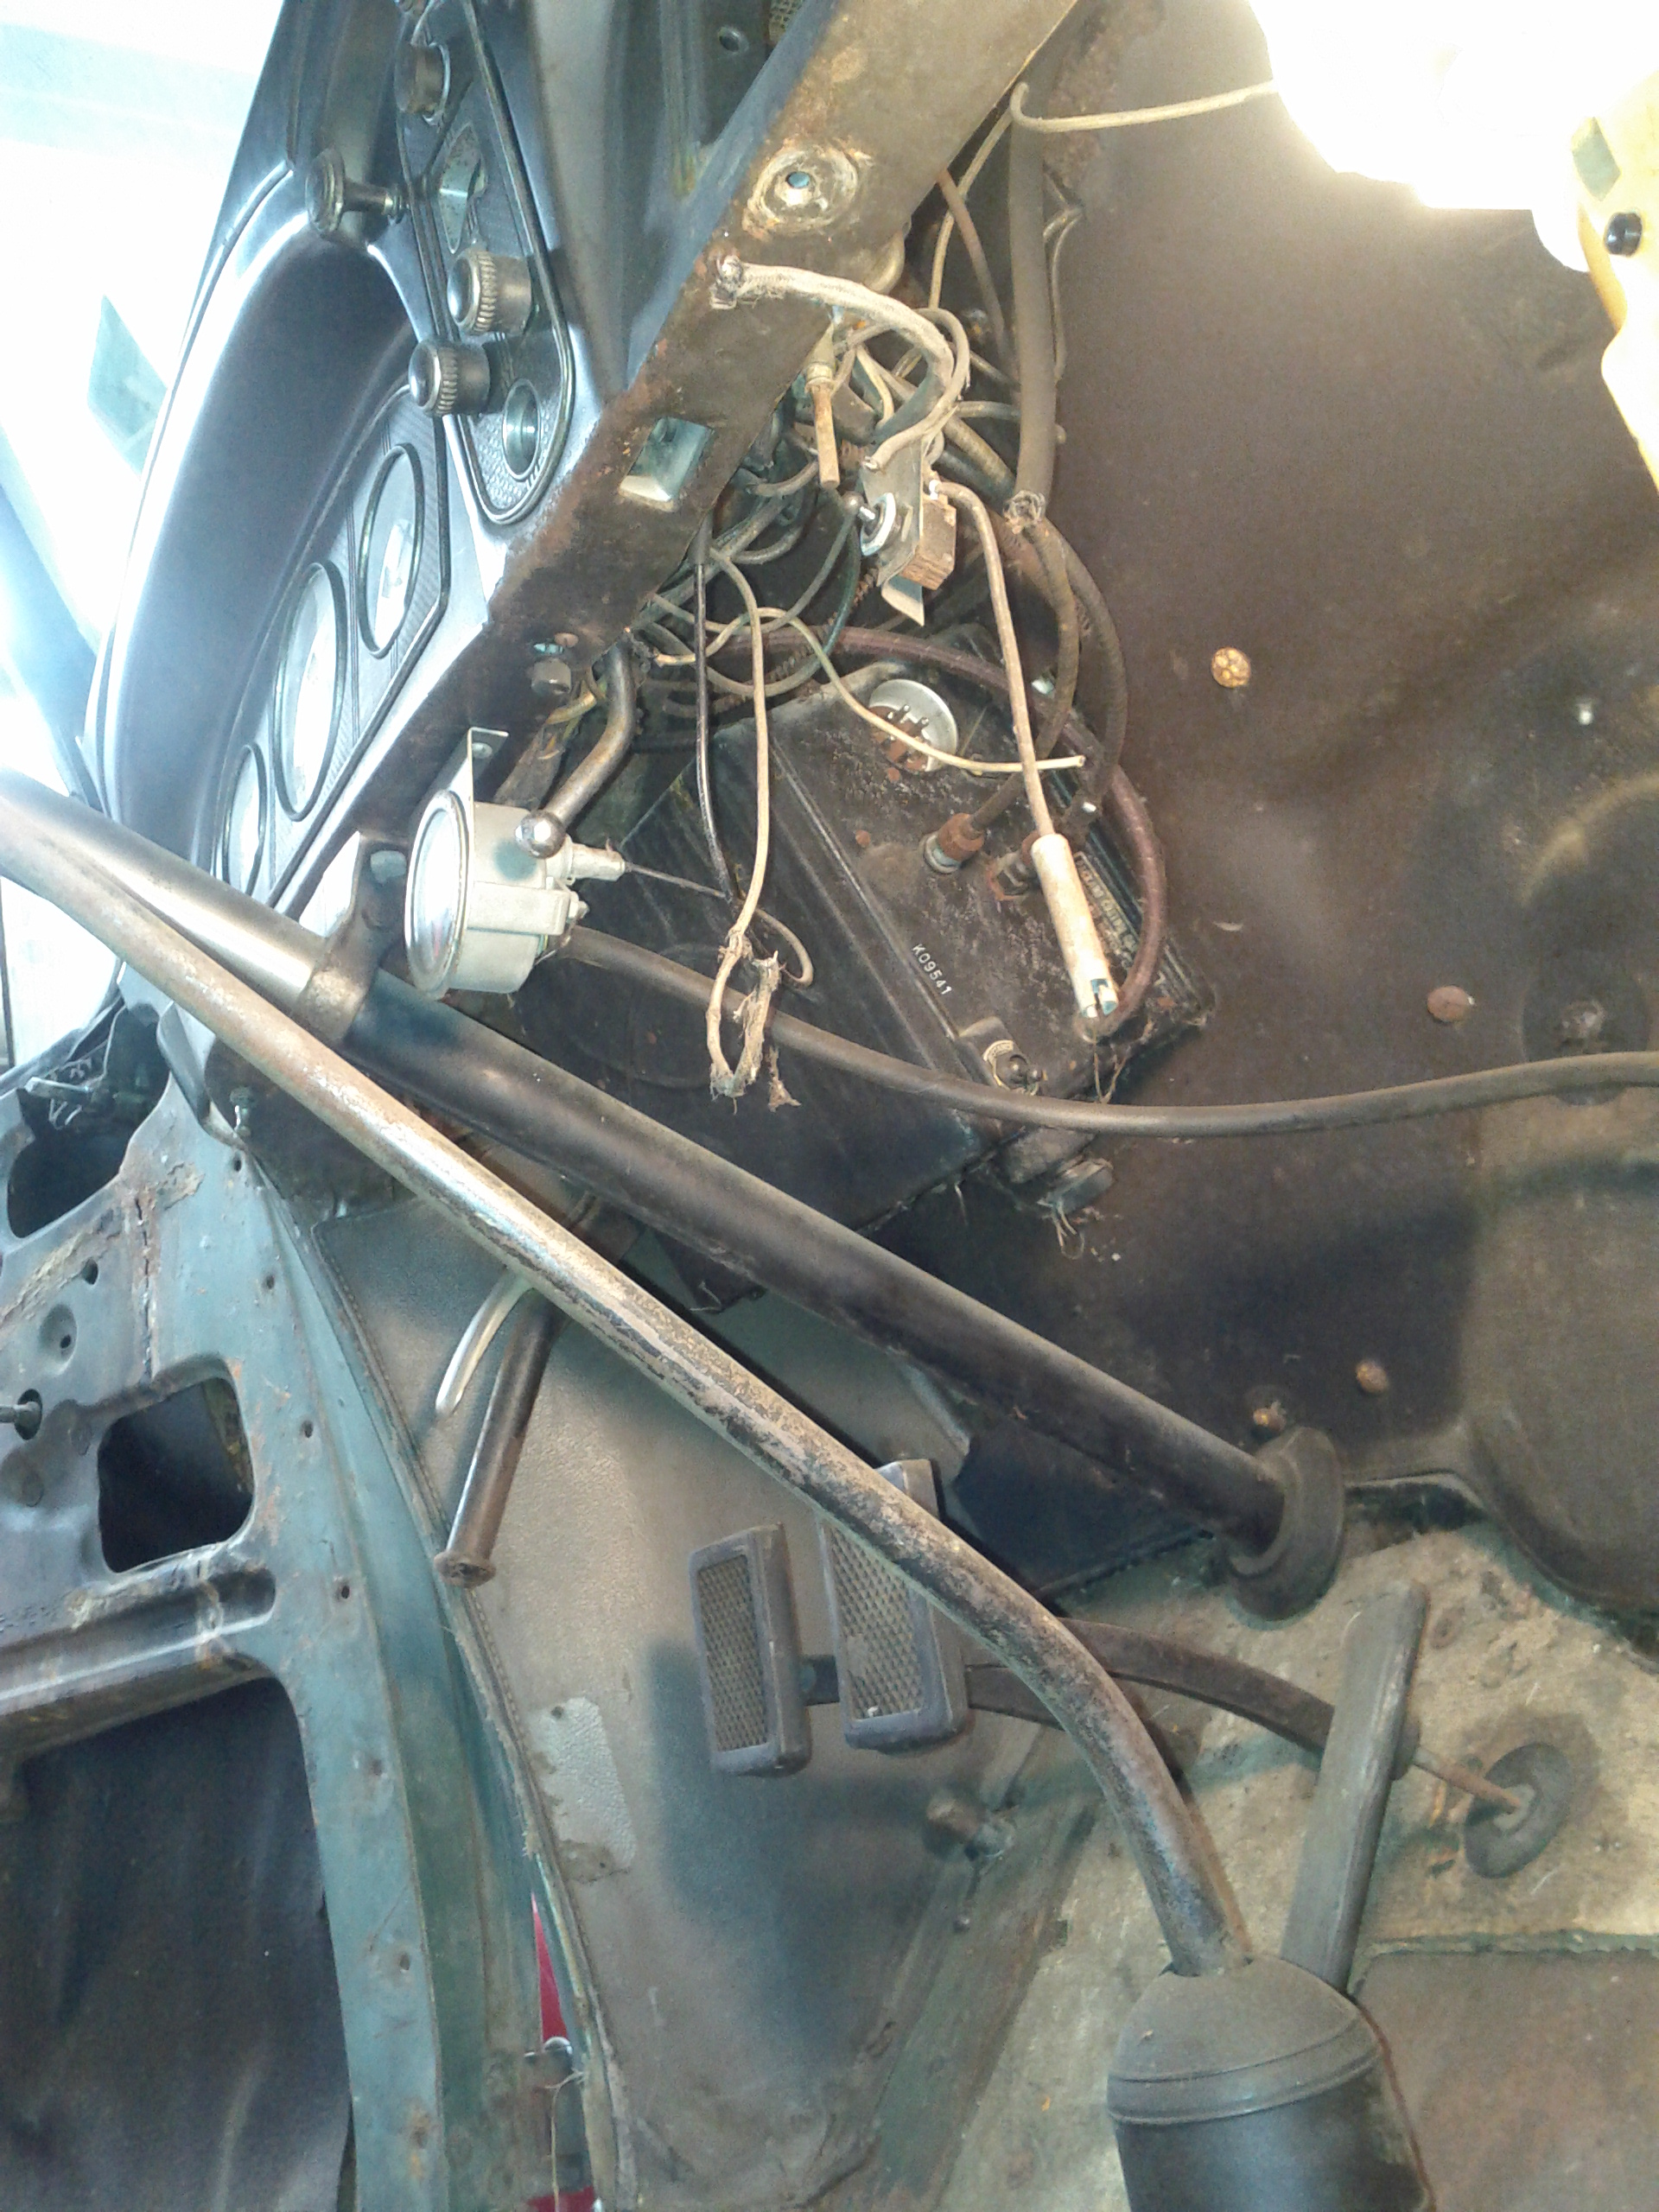
 The cord to the left is the hand brake cord.  Here you can see the wire harness  and the location of the steering column.
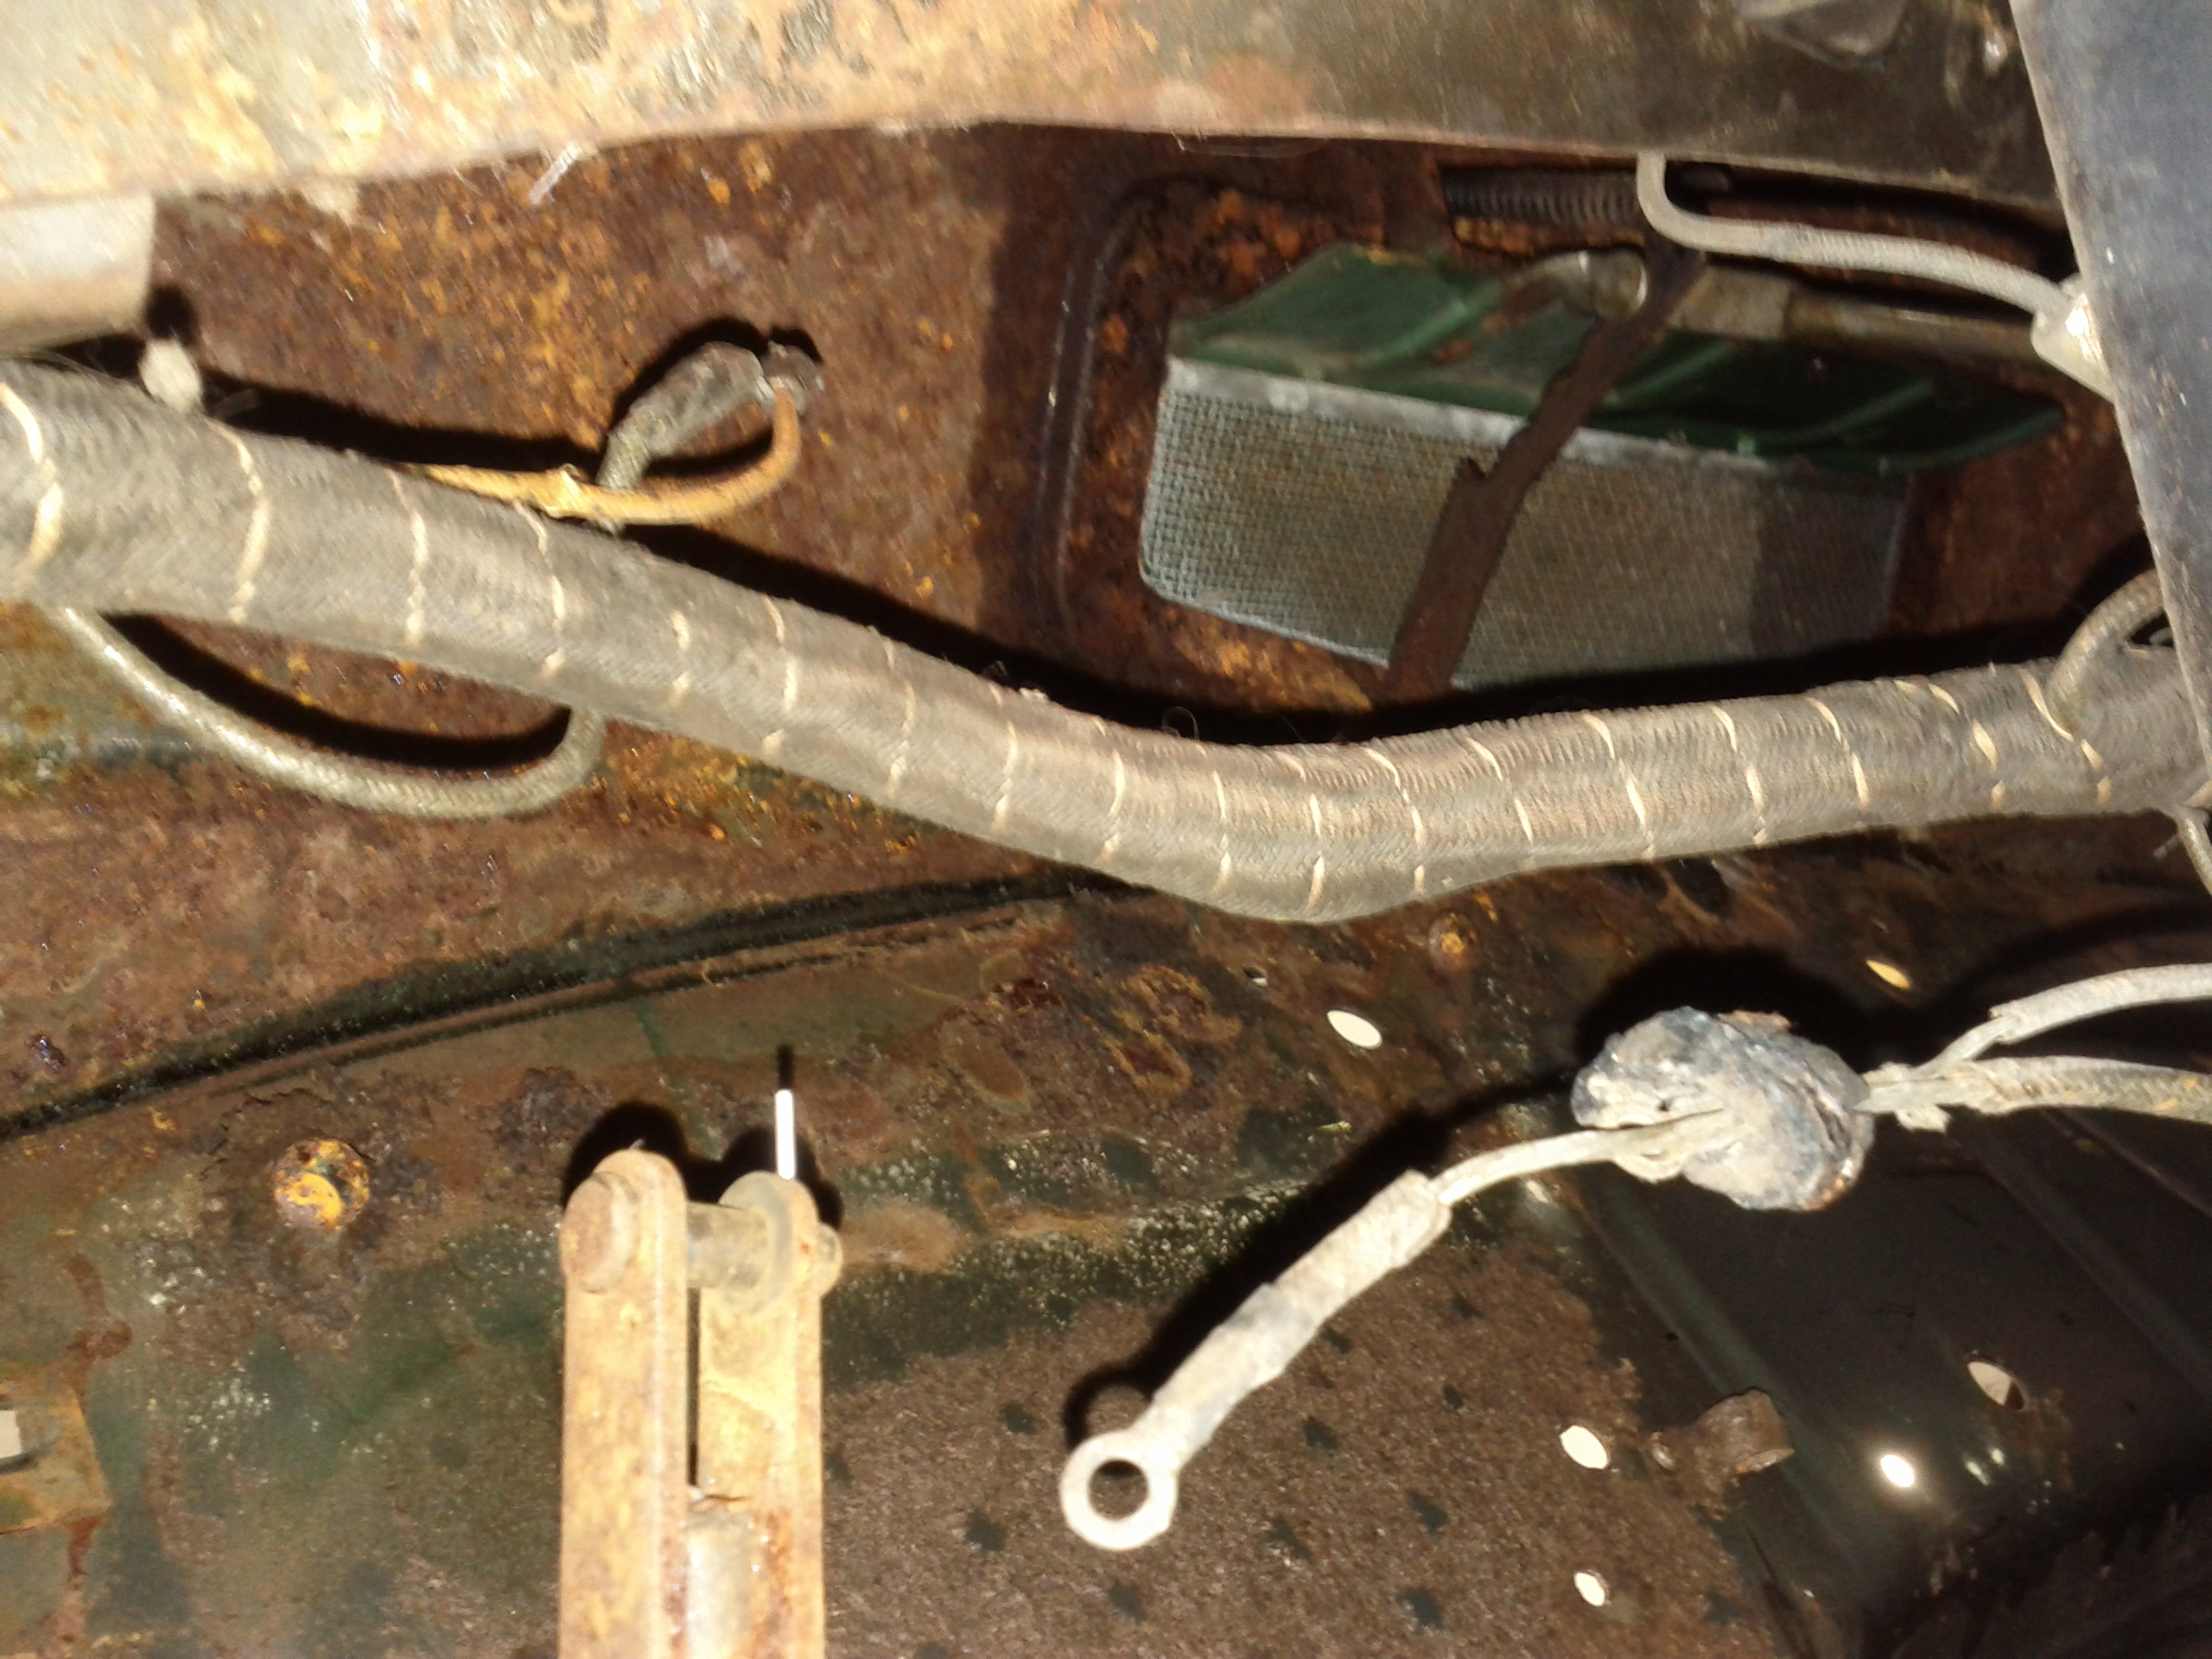


1936 Packard - Under the Dash

Under the Dash


 Finally, a close up of the air vent in the hood that goes under the dash.  The holes you see at the bottom of the picture are the punch outs for the wipers.  The wiper vacuum was located directly underneath.  All the items mentioned here will be up on eBay soon if you need them for your restoration project!


Posted in Project Post | Tagged , , | Leave a comment

April 1, 2012: Interior Clean Up

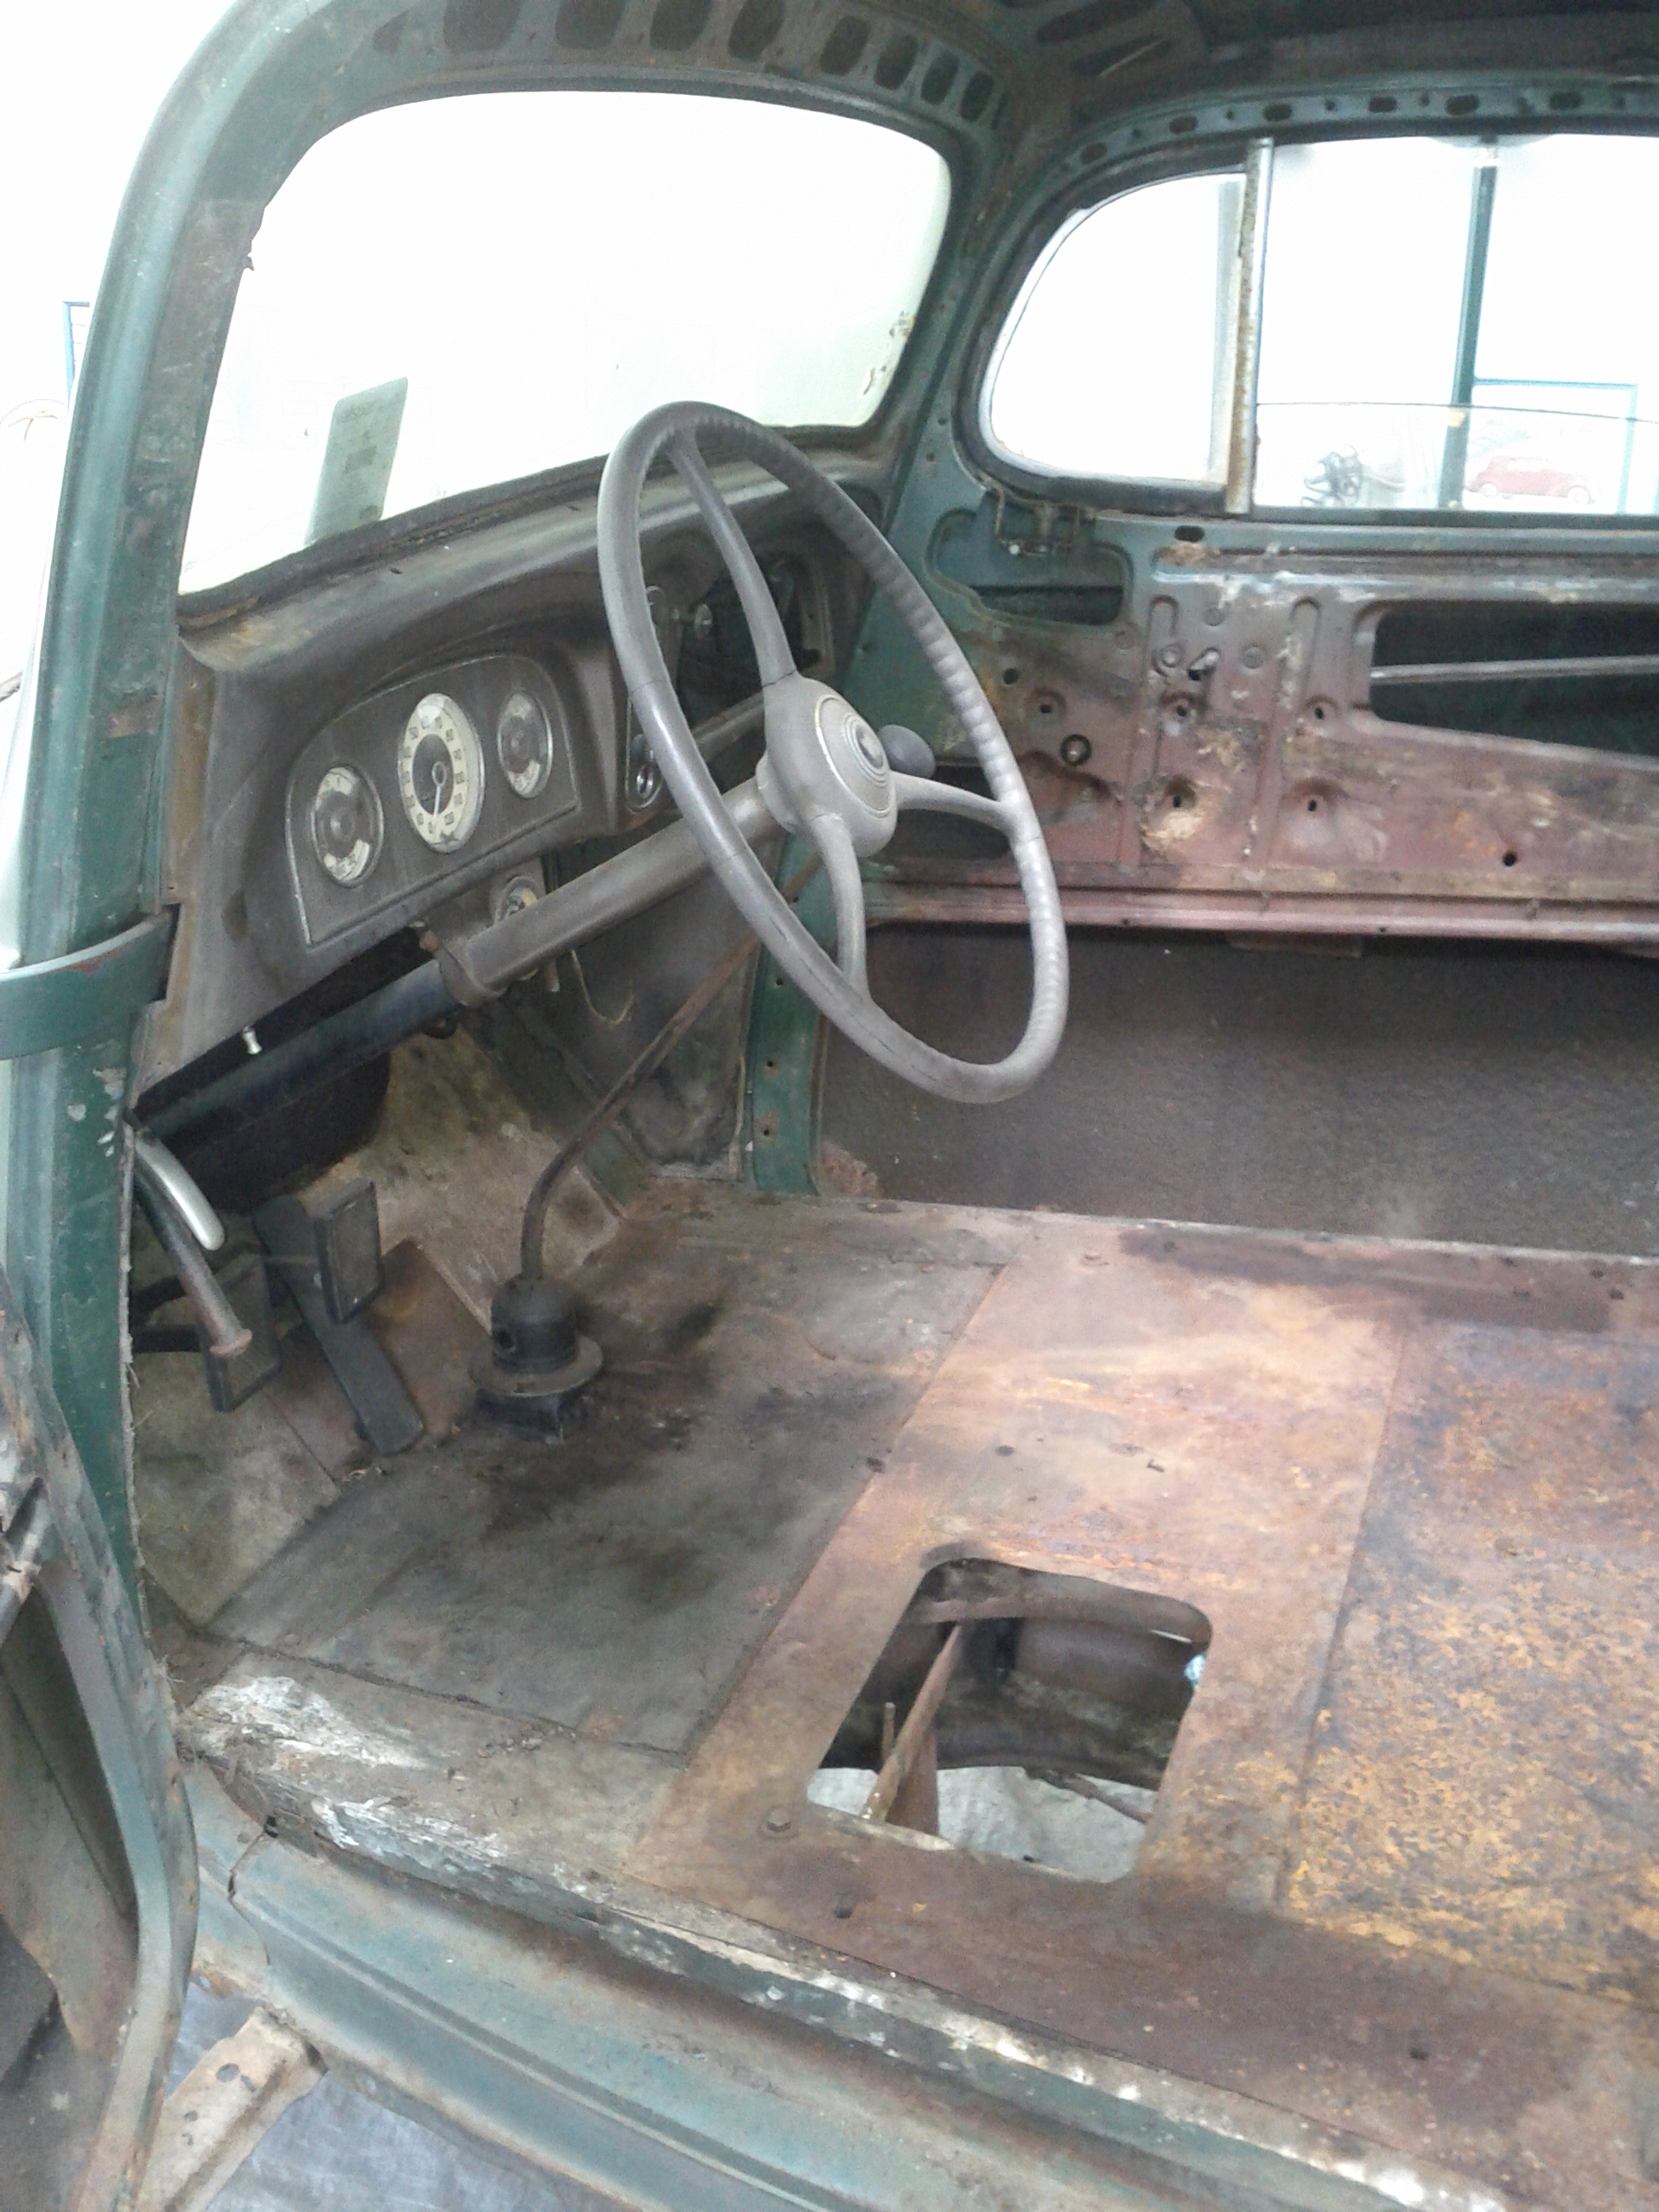
1936 Packard Interior - Cleaned

Dirt and Debris Removed

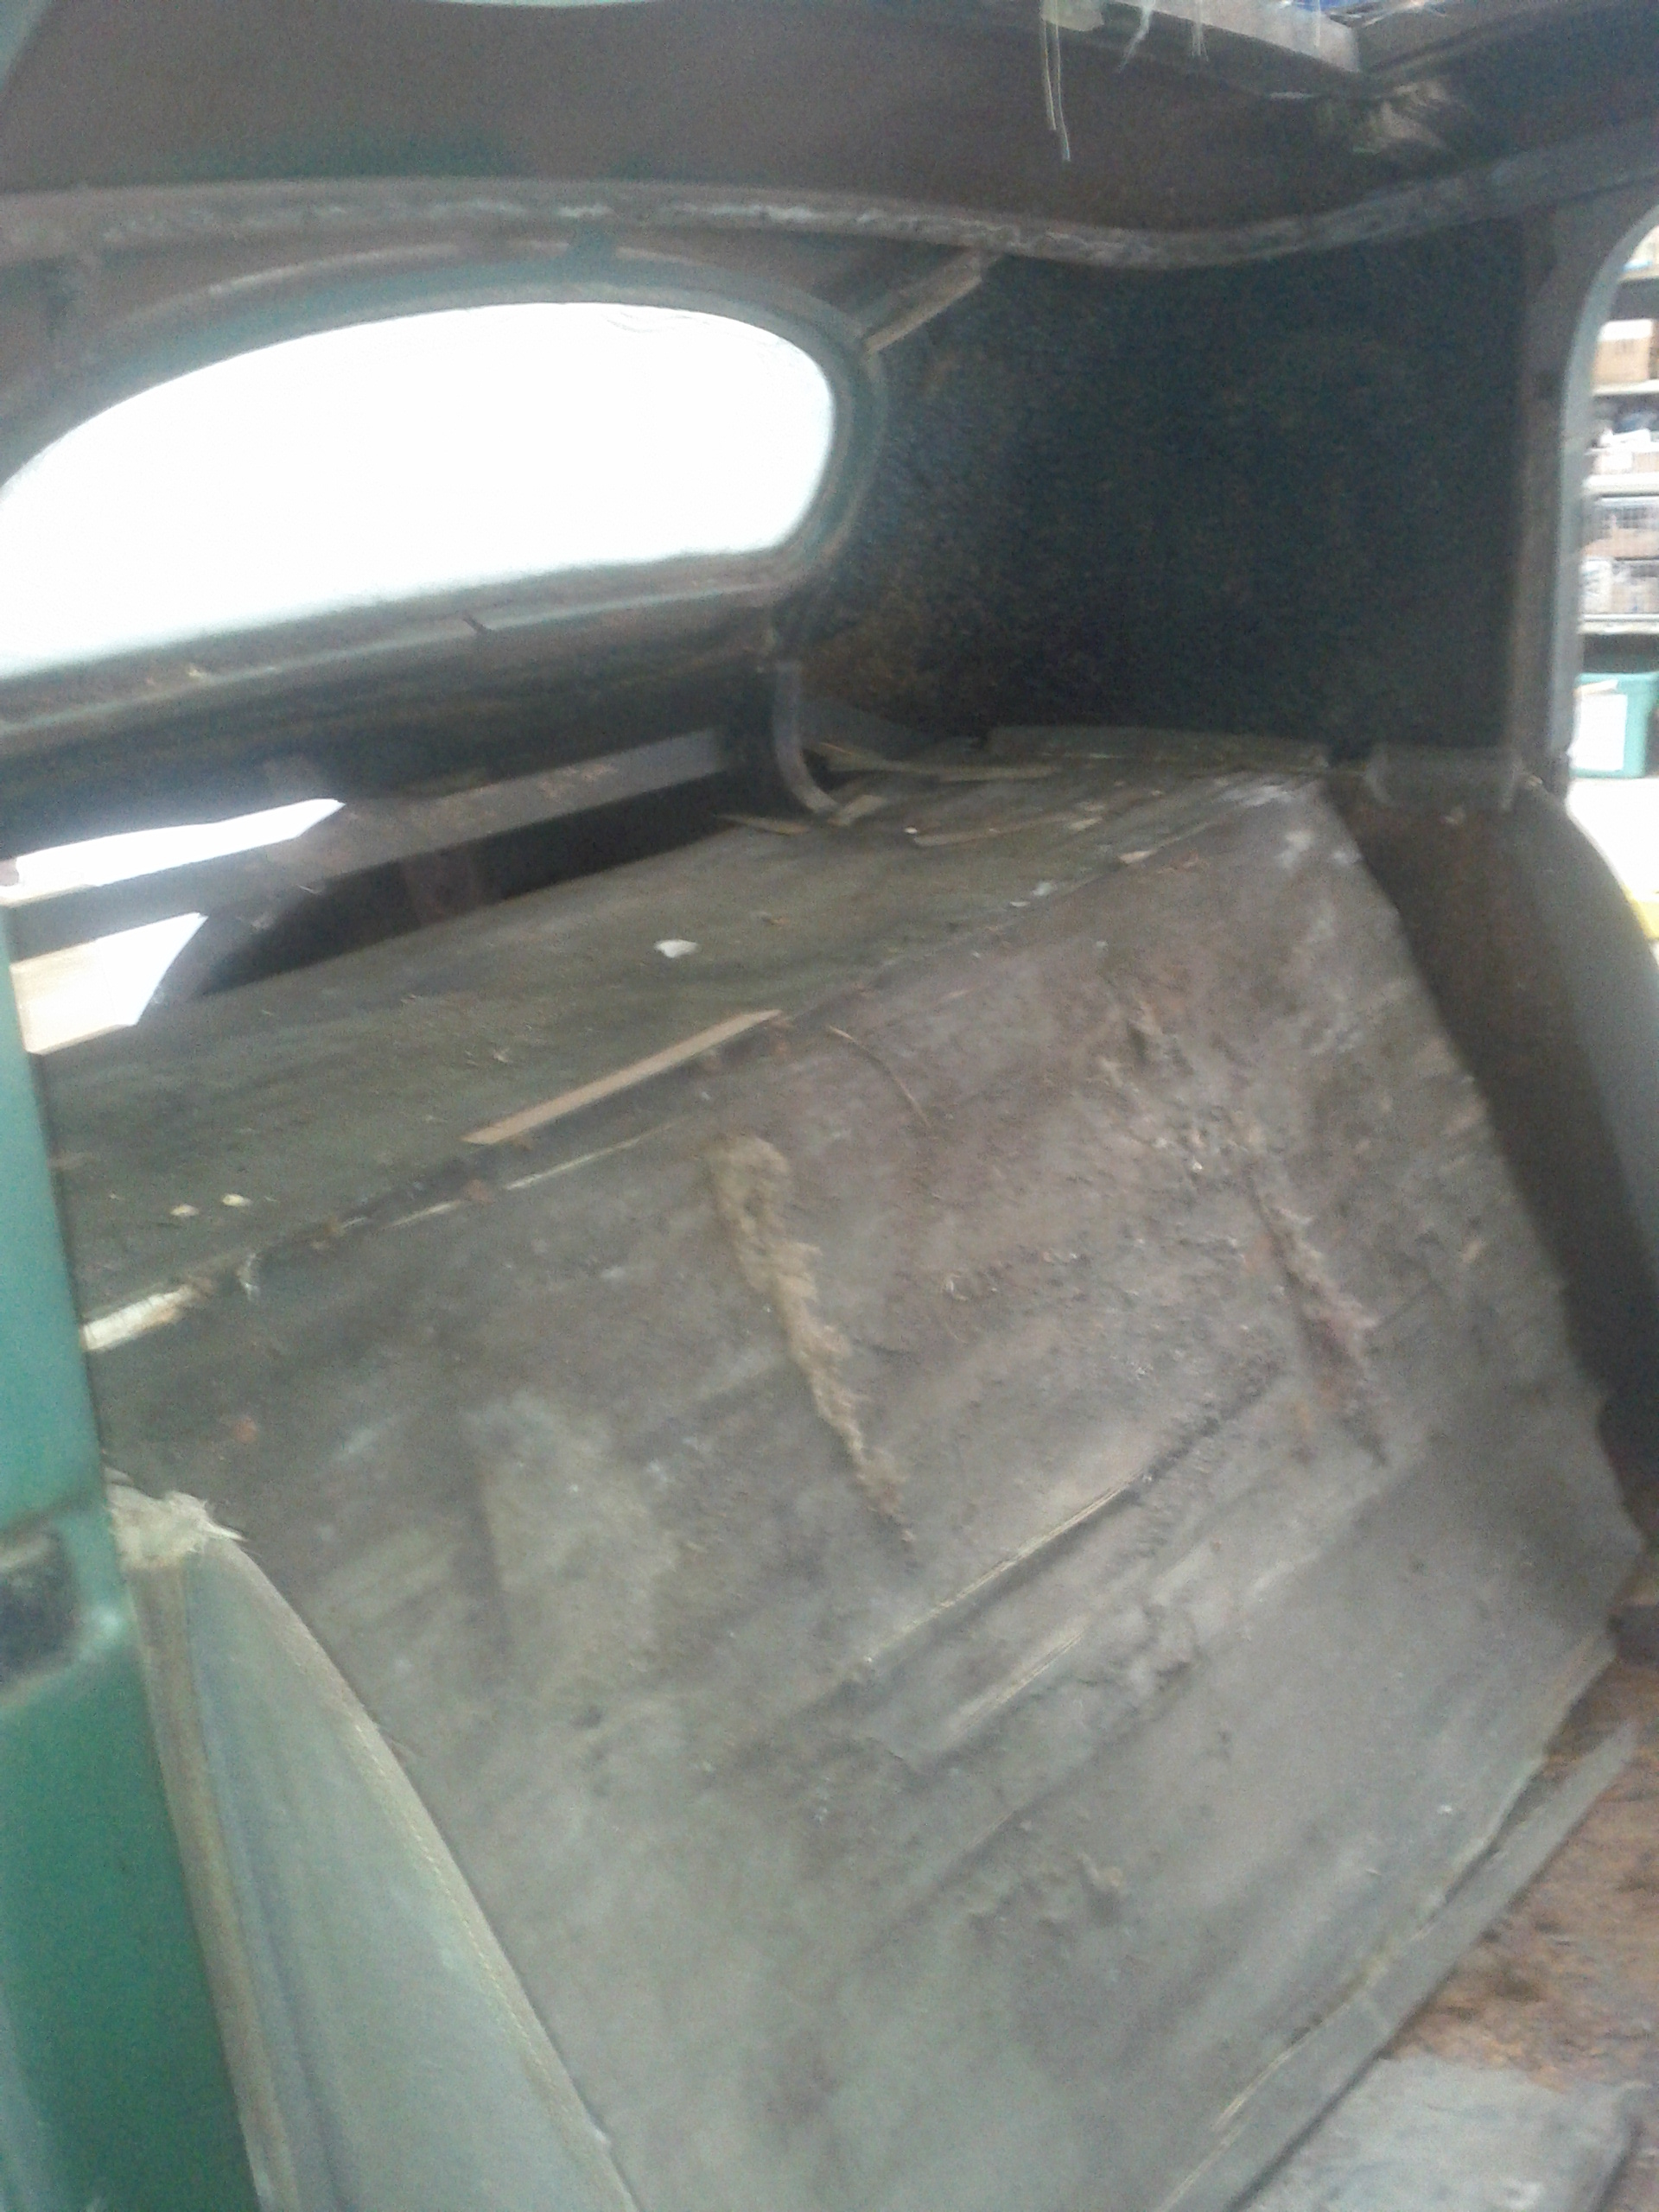
Pictures from the work we completed on March 28, 2012.  Cleaned all the debris from the floorboards and removed the door kick plates.  We are happy with what we see here too.  Only two trouble spots noted here.  Just under the hand brake there is a soft spot in the center of the wood that will take some work.  Also, mid way across the driver side door opening is a splinter in the wood.  This will take some repair and consulting with Bob from HIRE A GUY.


1936 Packard - Behind the Seat

Seat Support Removed

Looking from the driver side door toward the back of the car.  We removed the plywood support for the rear of the seat.  This whole package rack and window support will come out eventually and be rebuilt.  Plenty of room under the rear window for a 3rd break light.  One of the few modifications we are going to do to the exterior.


1936 Packard - Trunk View

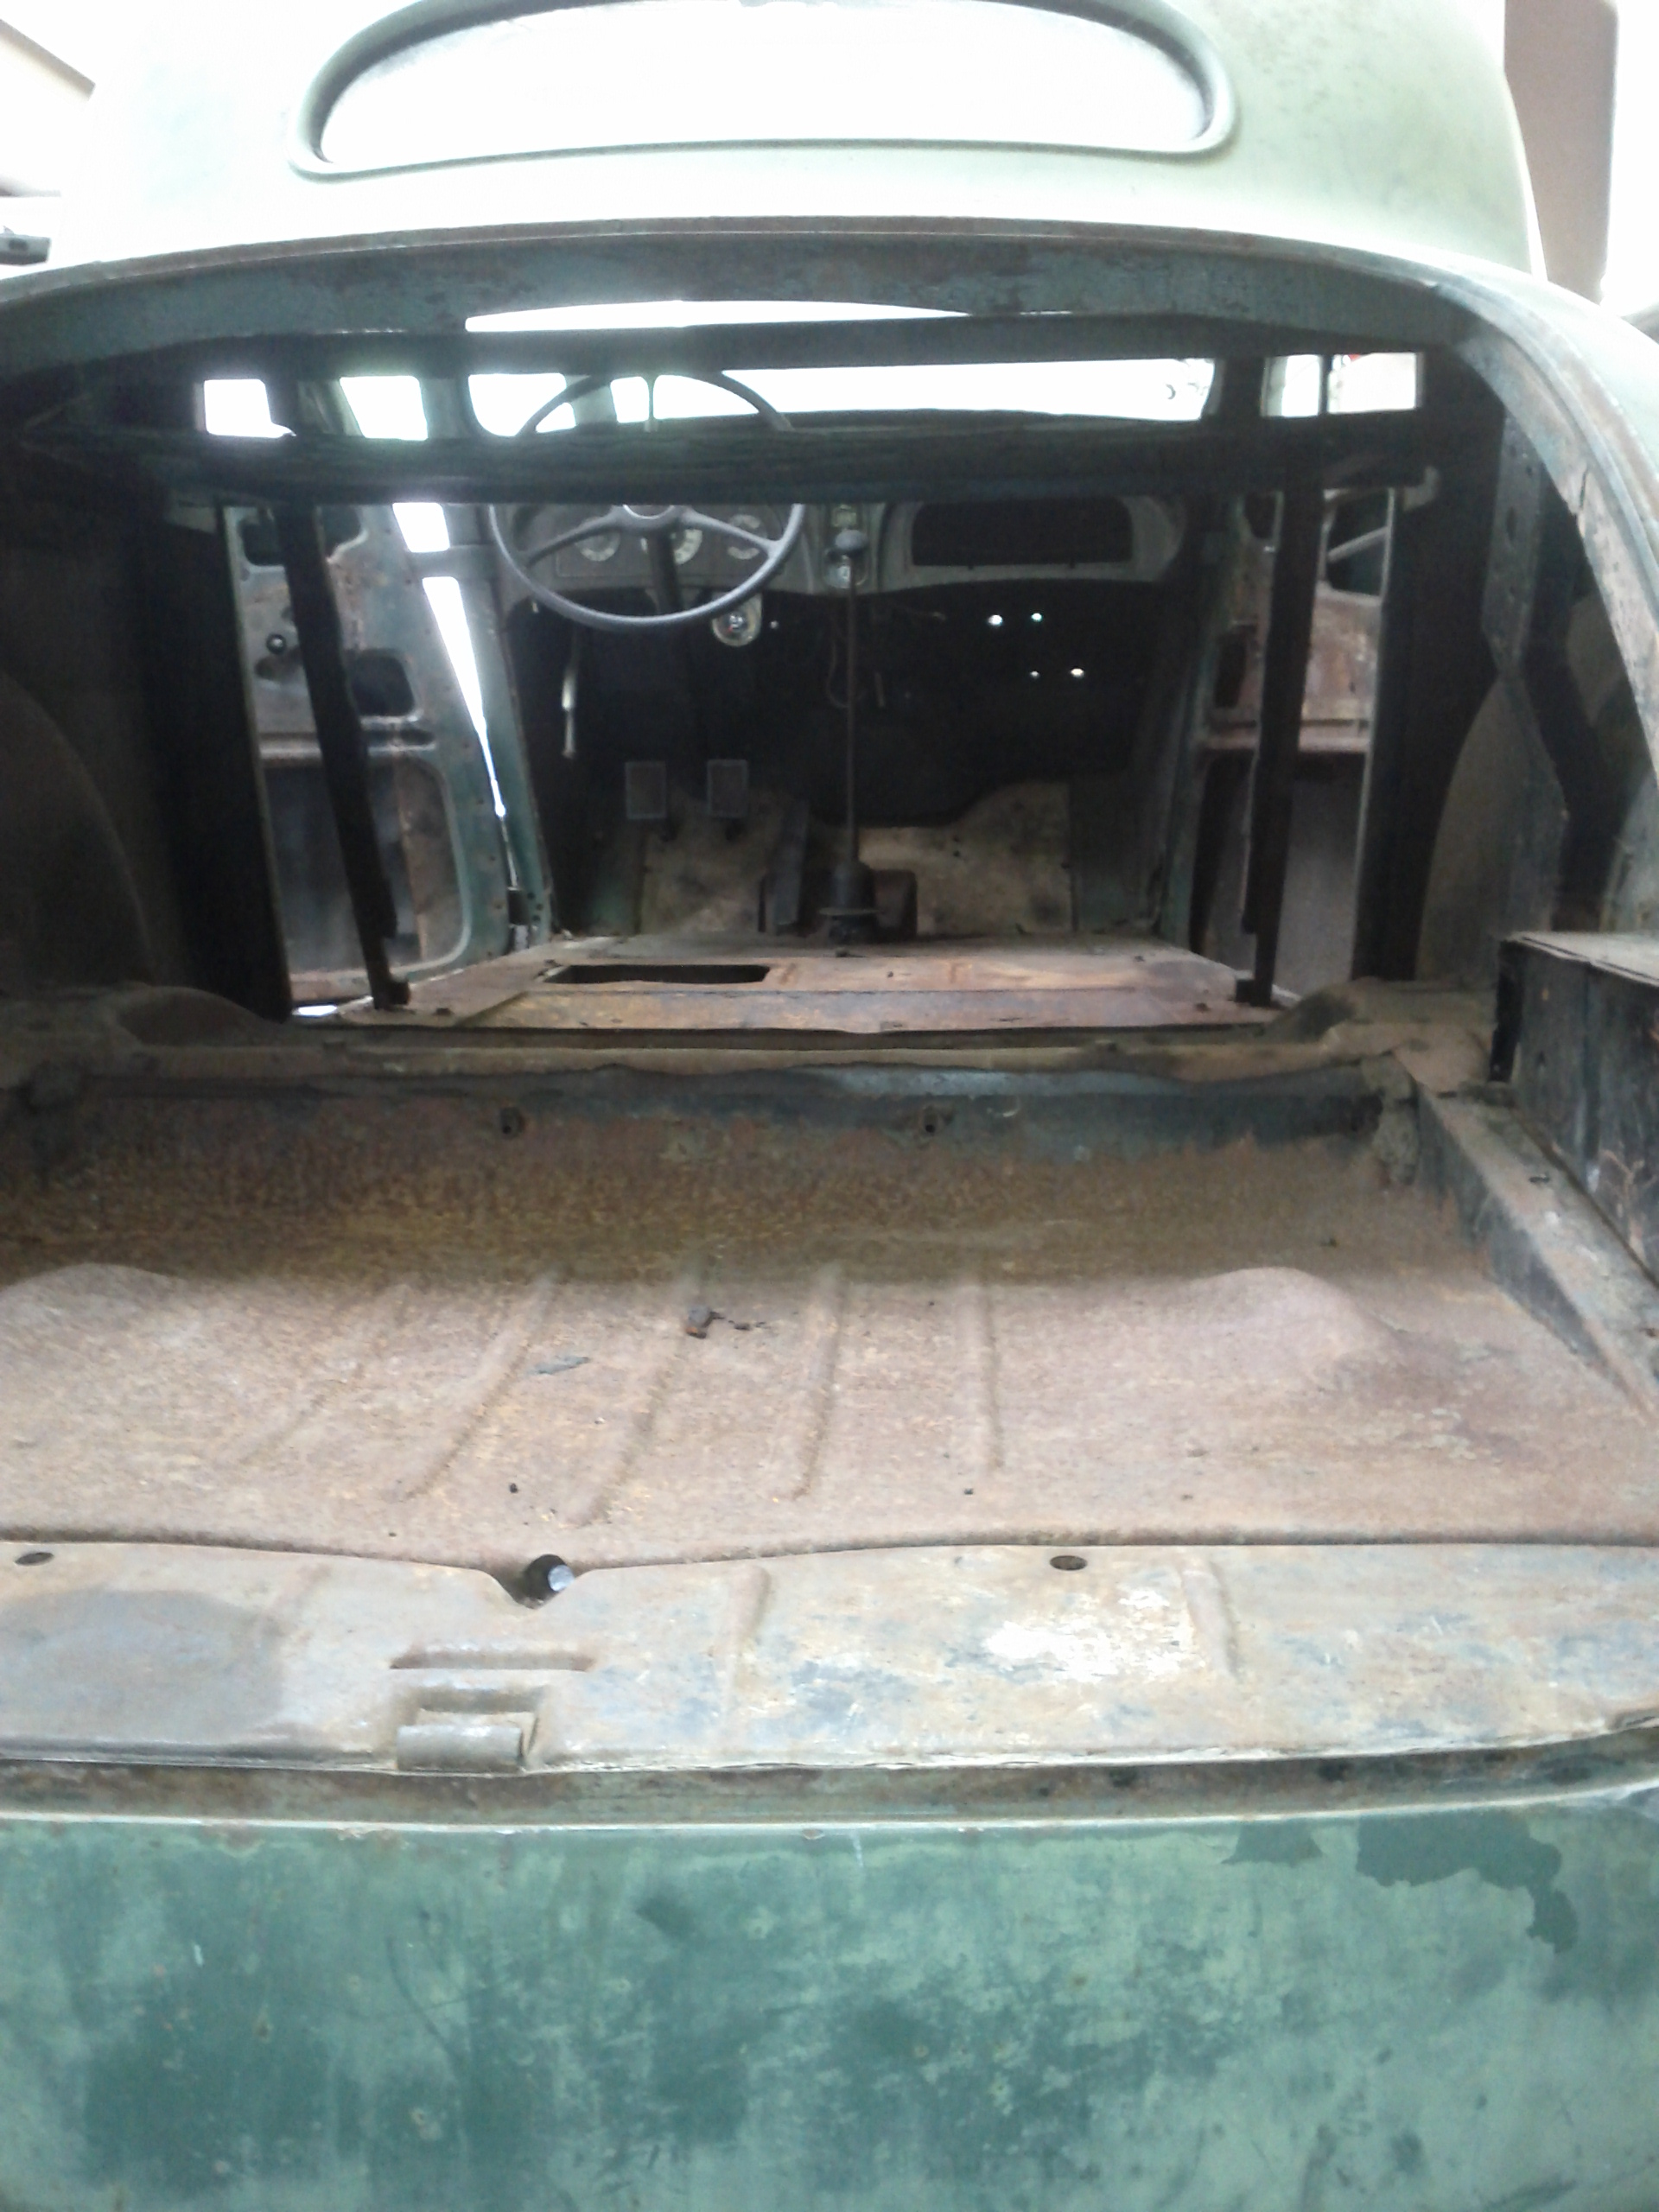
View from the Trunk to the Dash


One more look at the car cleaned up.  Here from the trunk all the way to the dash.  One thing this car does not lack…storage space!


Posted in Project Post | Tagged , , , | Leave a comment

April 1, 2012: Goddess

Dad supplied a special treat for me today!  I mentioned how much I really like this hood ornament over the bail type the car has on it.  Well thanks to his crafty work we managed to get one for my car.  Dad, this is AWESOME!  She will proudly go before everywhere we go!

1936 Packard Goddess

1936 Packard Goddess

Posted in Project Post | Tagged , , , | Leave a comment

March 28, 2012: Running Boards and Rear Fenders


1936 Packard Running Boards Removed

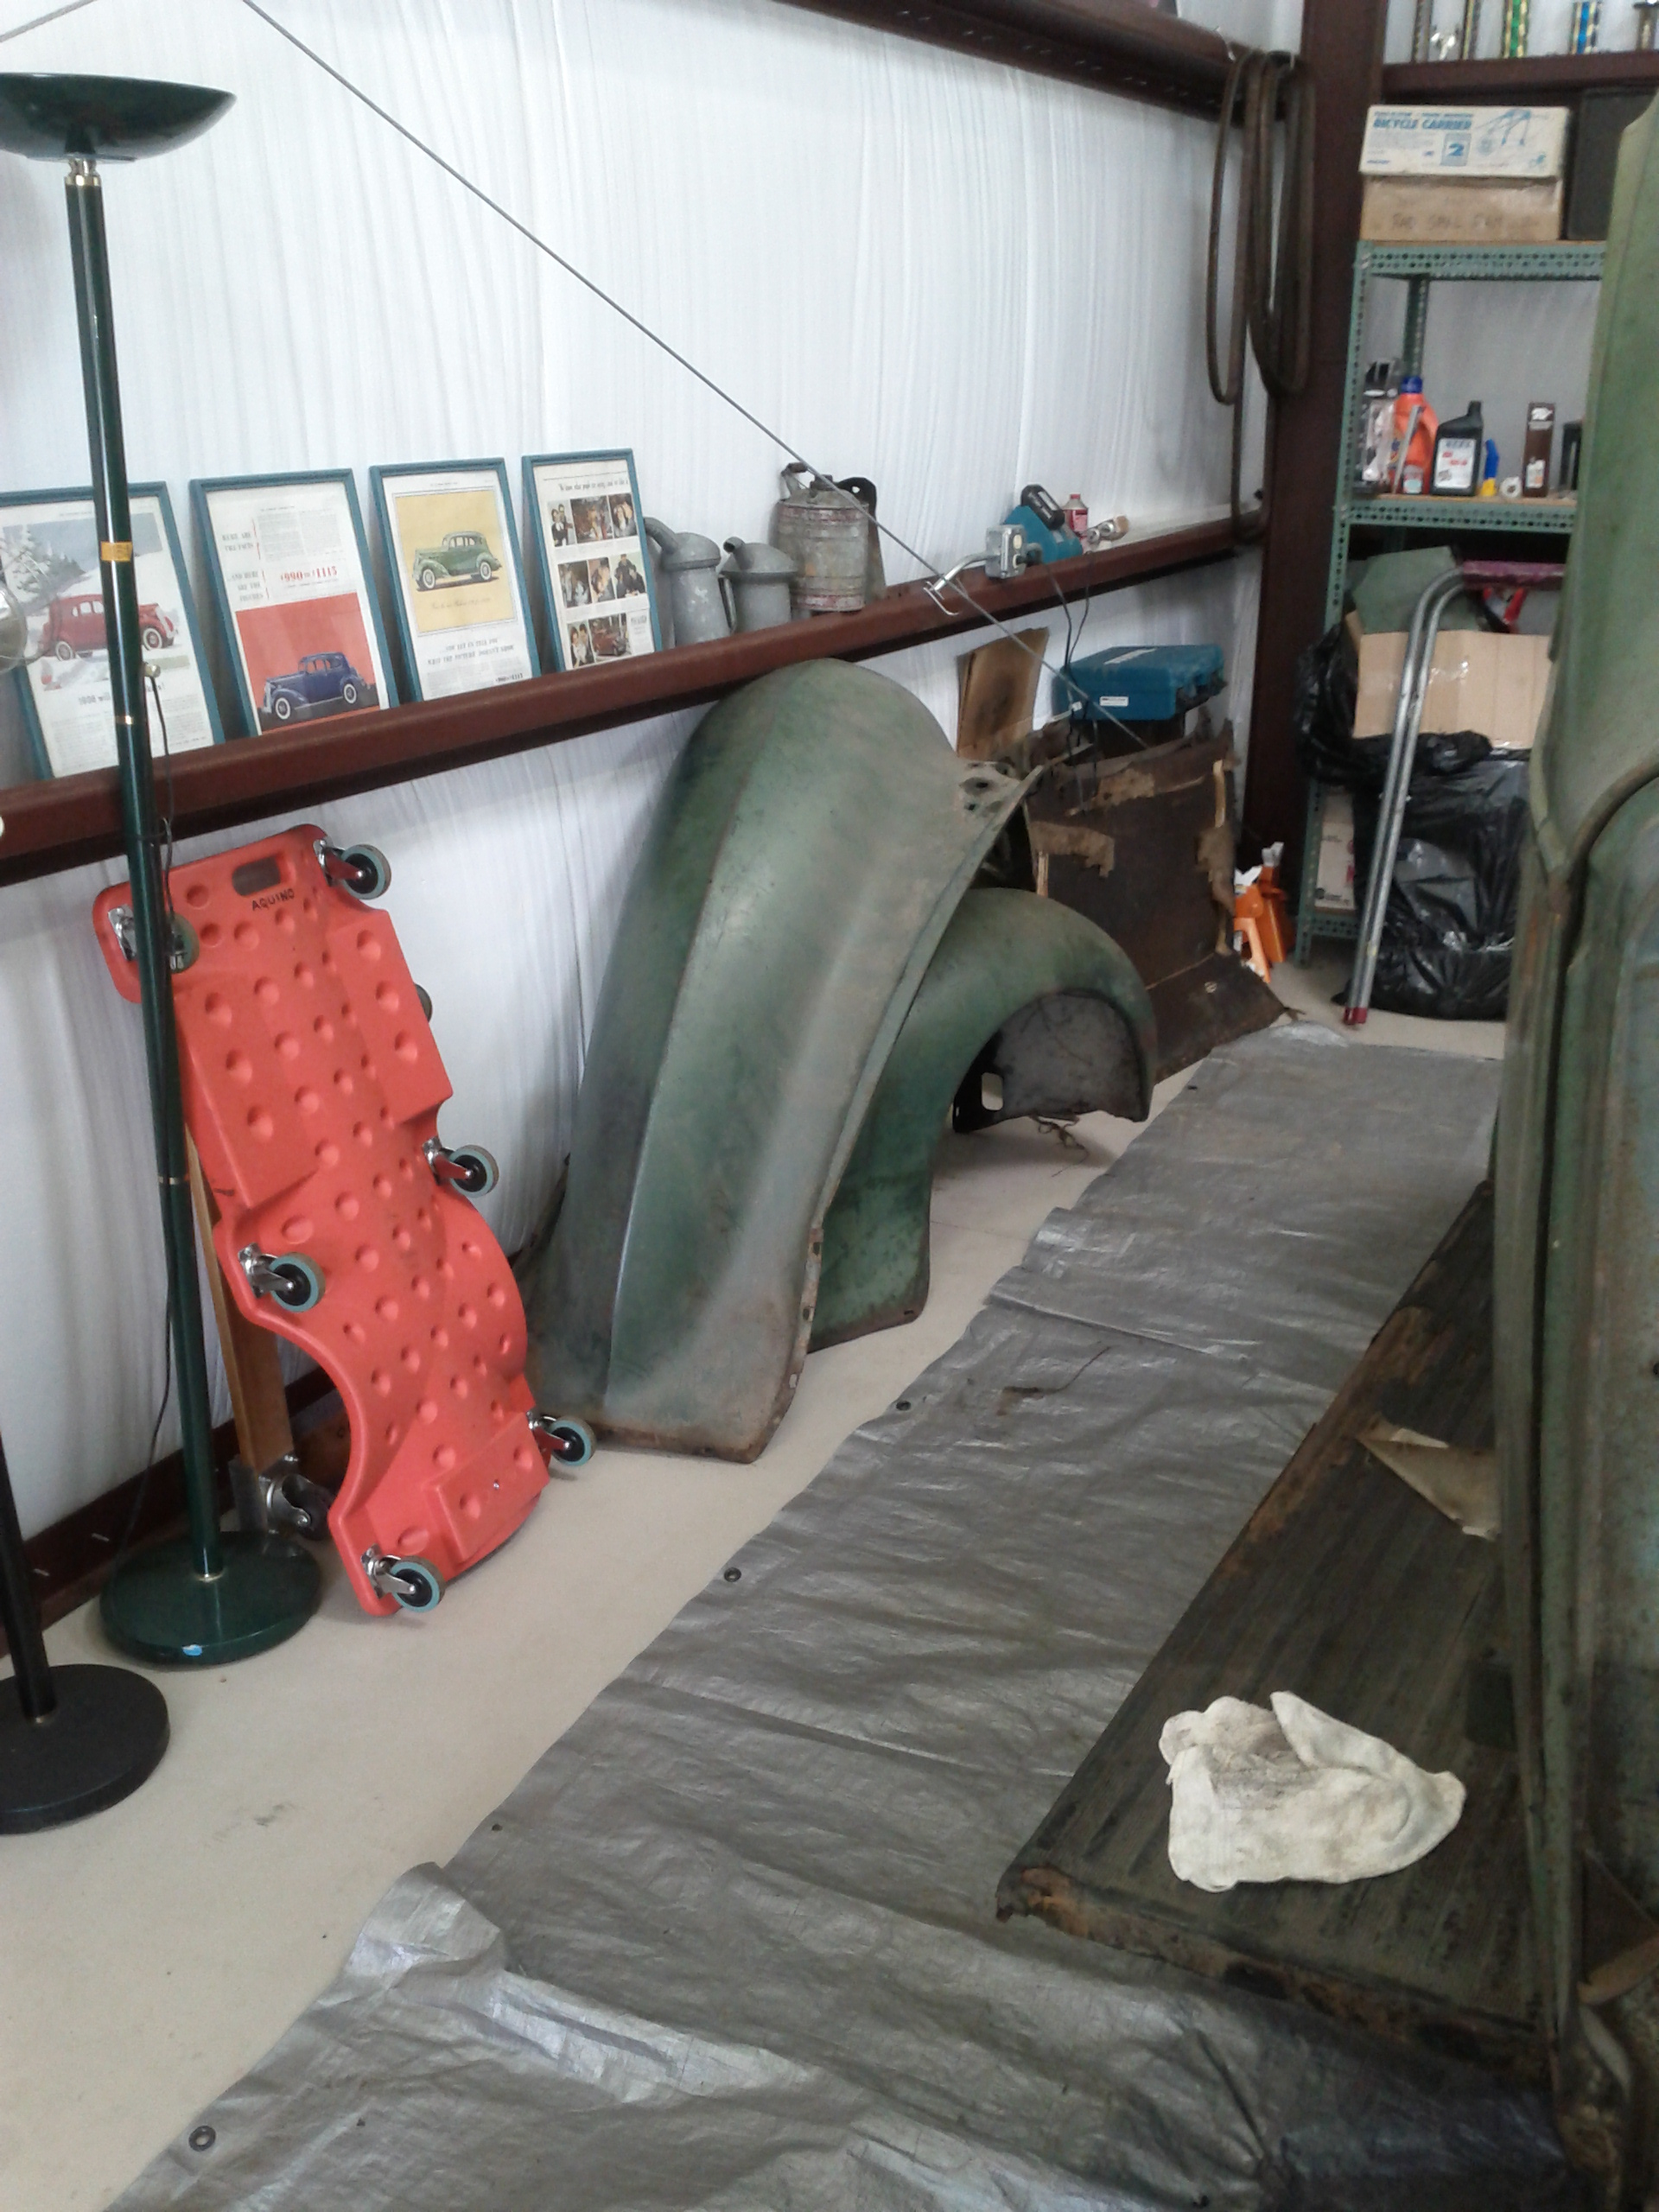
Today we removed the running boards.  It was pretty easy as they must have been removed previously.  Just a few coarse thread bolts holding them on.  Amazingly very little rust and all of the joint holes are intact.  Might do a little reinforcing when we put them back in but other than that fantastic shape.


If you look close near the hinges on the door and where the door ends are the standards that support the running boards.  These things are SOLID and tight on the frame.  Unless we have to do some reinforcing to the frame these are going to stay in place.

1936 Packard Rear Fender

Next we removed the rear fenders.  Again the body and fenders are in great shape.  There are remnants of the cloth used between the body and fender here but mostly deteriorated to dust.  Most likely going to use rubber when we put it back together.  Look at that wheel well…not even a pinhole of rust through.   Looking forward to getting this girl cleaned up and ready for some body work!


In addition, we took out the plywood structure for the seat and the kick plates on the frame as you go into the doors.  My camera battery died, so I will get a couple pictures of that before we start up next time.
 
Bob from HIRE A GUY came by today as well to give us an opinion fixing some of the interior framing.  He seems to think we are in really good shape there too.  Some modification but all in all not difficult to finish up.  He will be back once we get the car cleaned out and ready for body work.
Posted in Project Post | Tagged , | 1 Comment

Time Out


Dad's 1936 Packard
Dad’s 1936 Packard

We also took some time today to look at our ‘reference car’.  Dad has a 1936 Packard 120B.  This was his first project and I guess you can say he did a good job with it.  Attached a picture of the trophy on the car.  How cool is that?!  1st Place Badge at Nationals!


Trophy
Trophy

Close up of the award. Seriously neat stuff!

Posted in Project Post | Tagged , , | Leave a comment

March 13, 2012: AHHHH My Nose!

1936 Packard Nose and Fenders

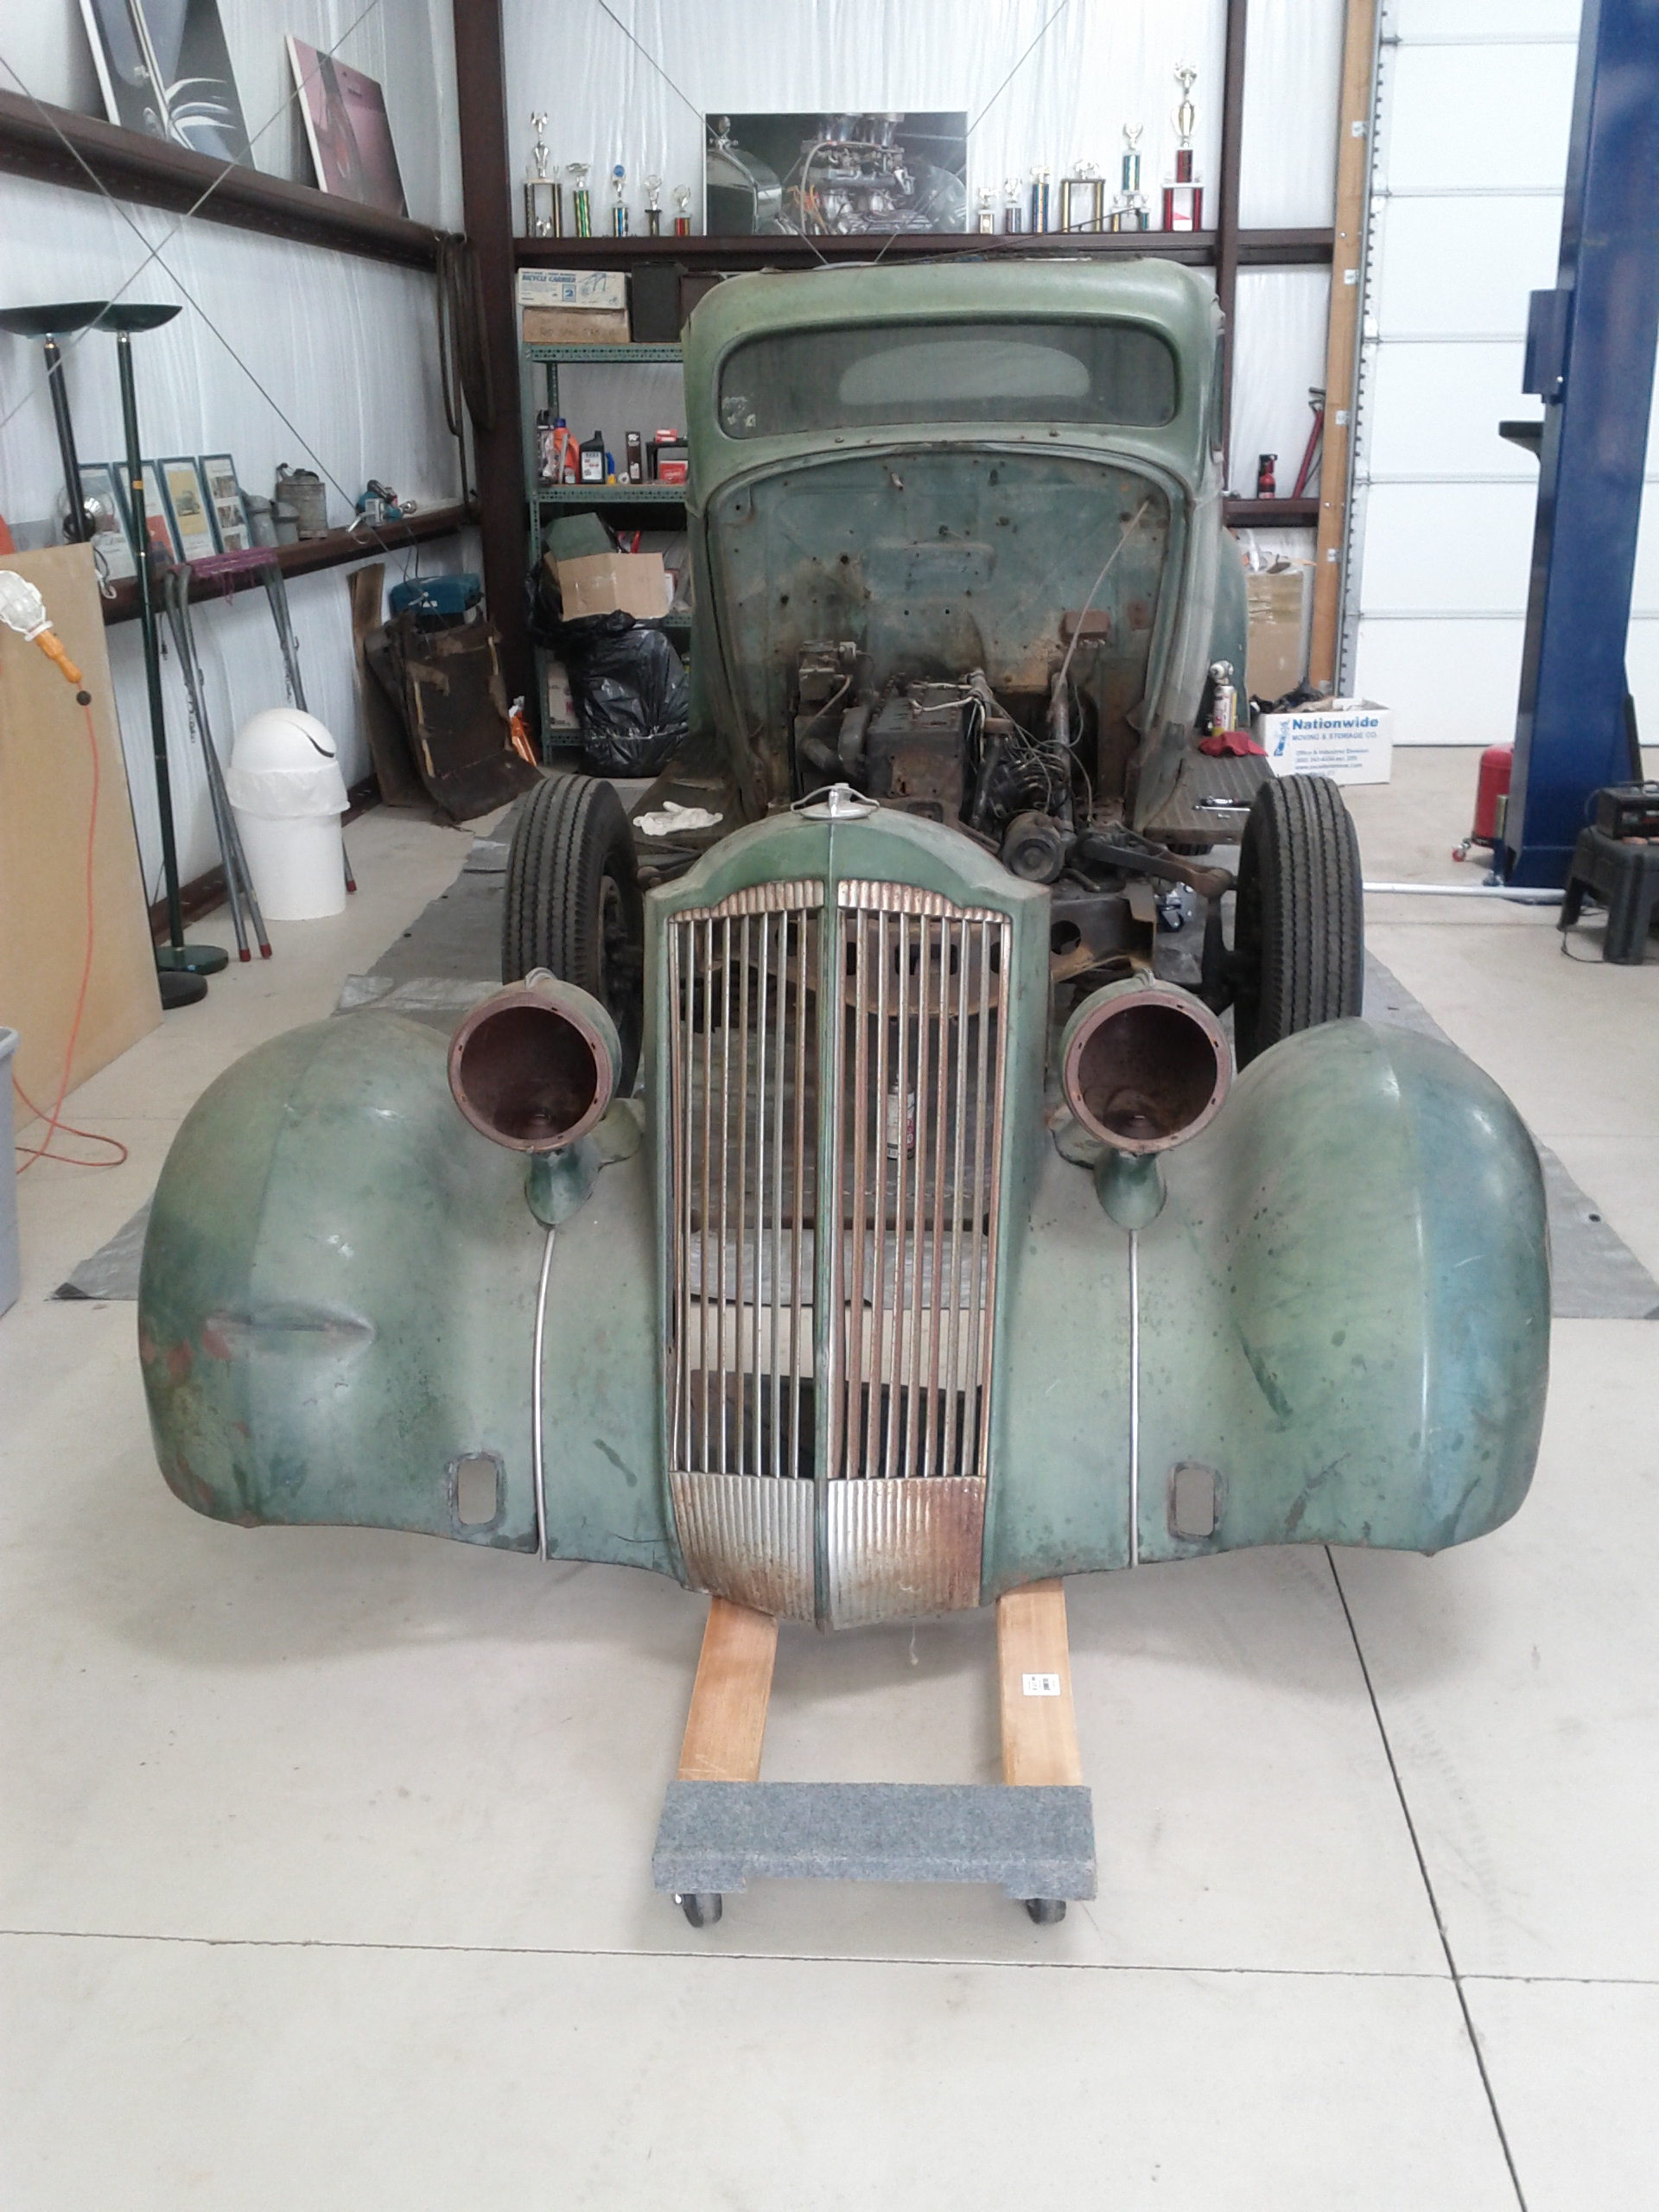
Pulled off in one piece


Work continued today with removing some of the body.  The nose and fenders came off in one piece.  We pulled the bolts attaching the fenders to the running boards.  The center bolt holding the bottom of the nose to the frame was already out making this pretty easy work.


1936 Packard Engine Compartment

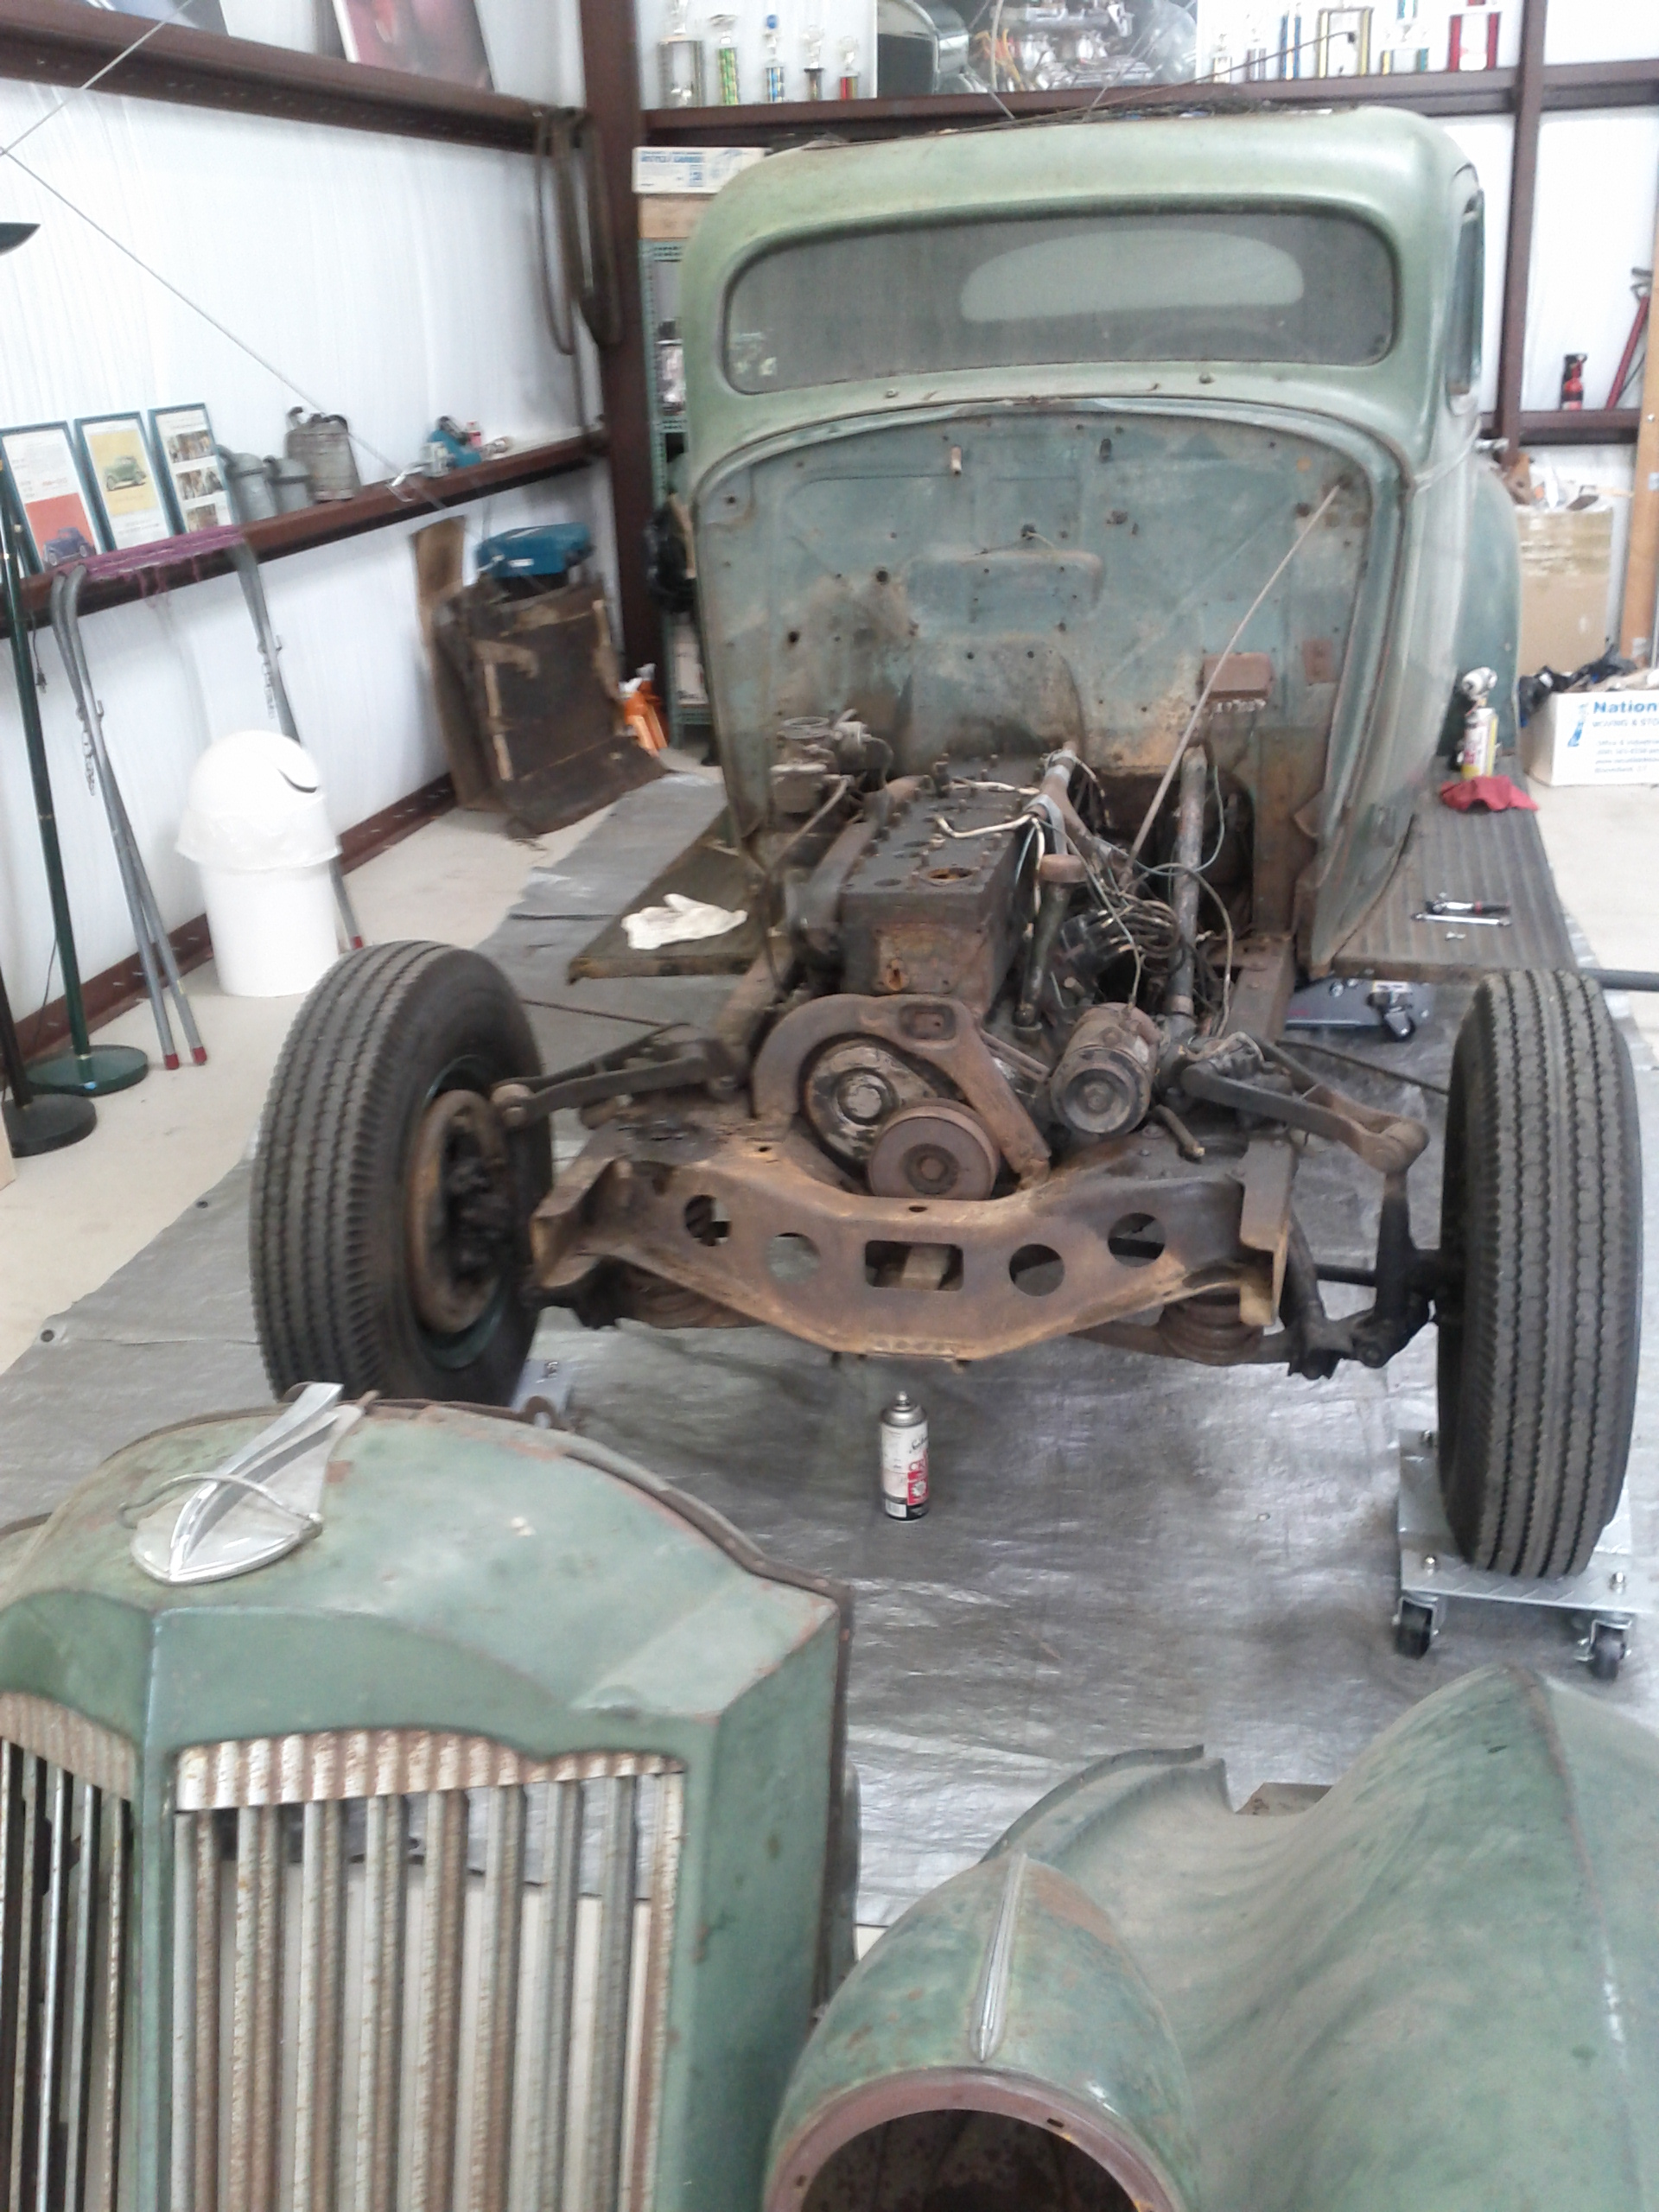
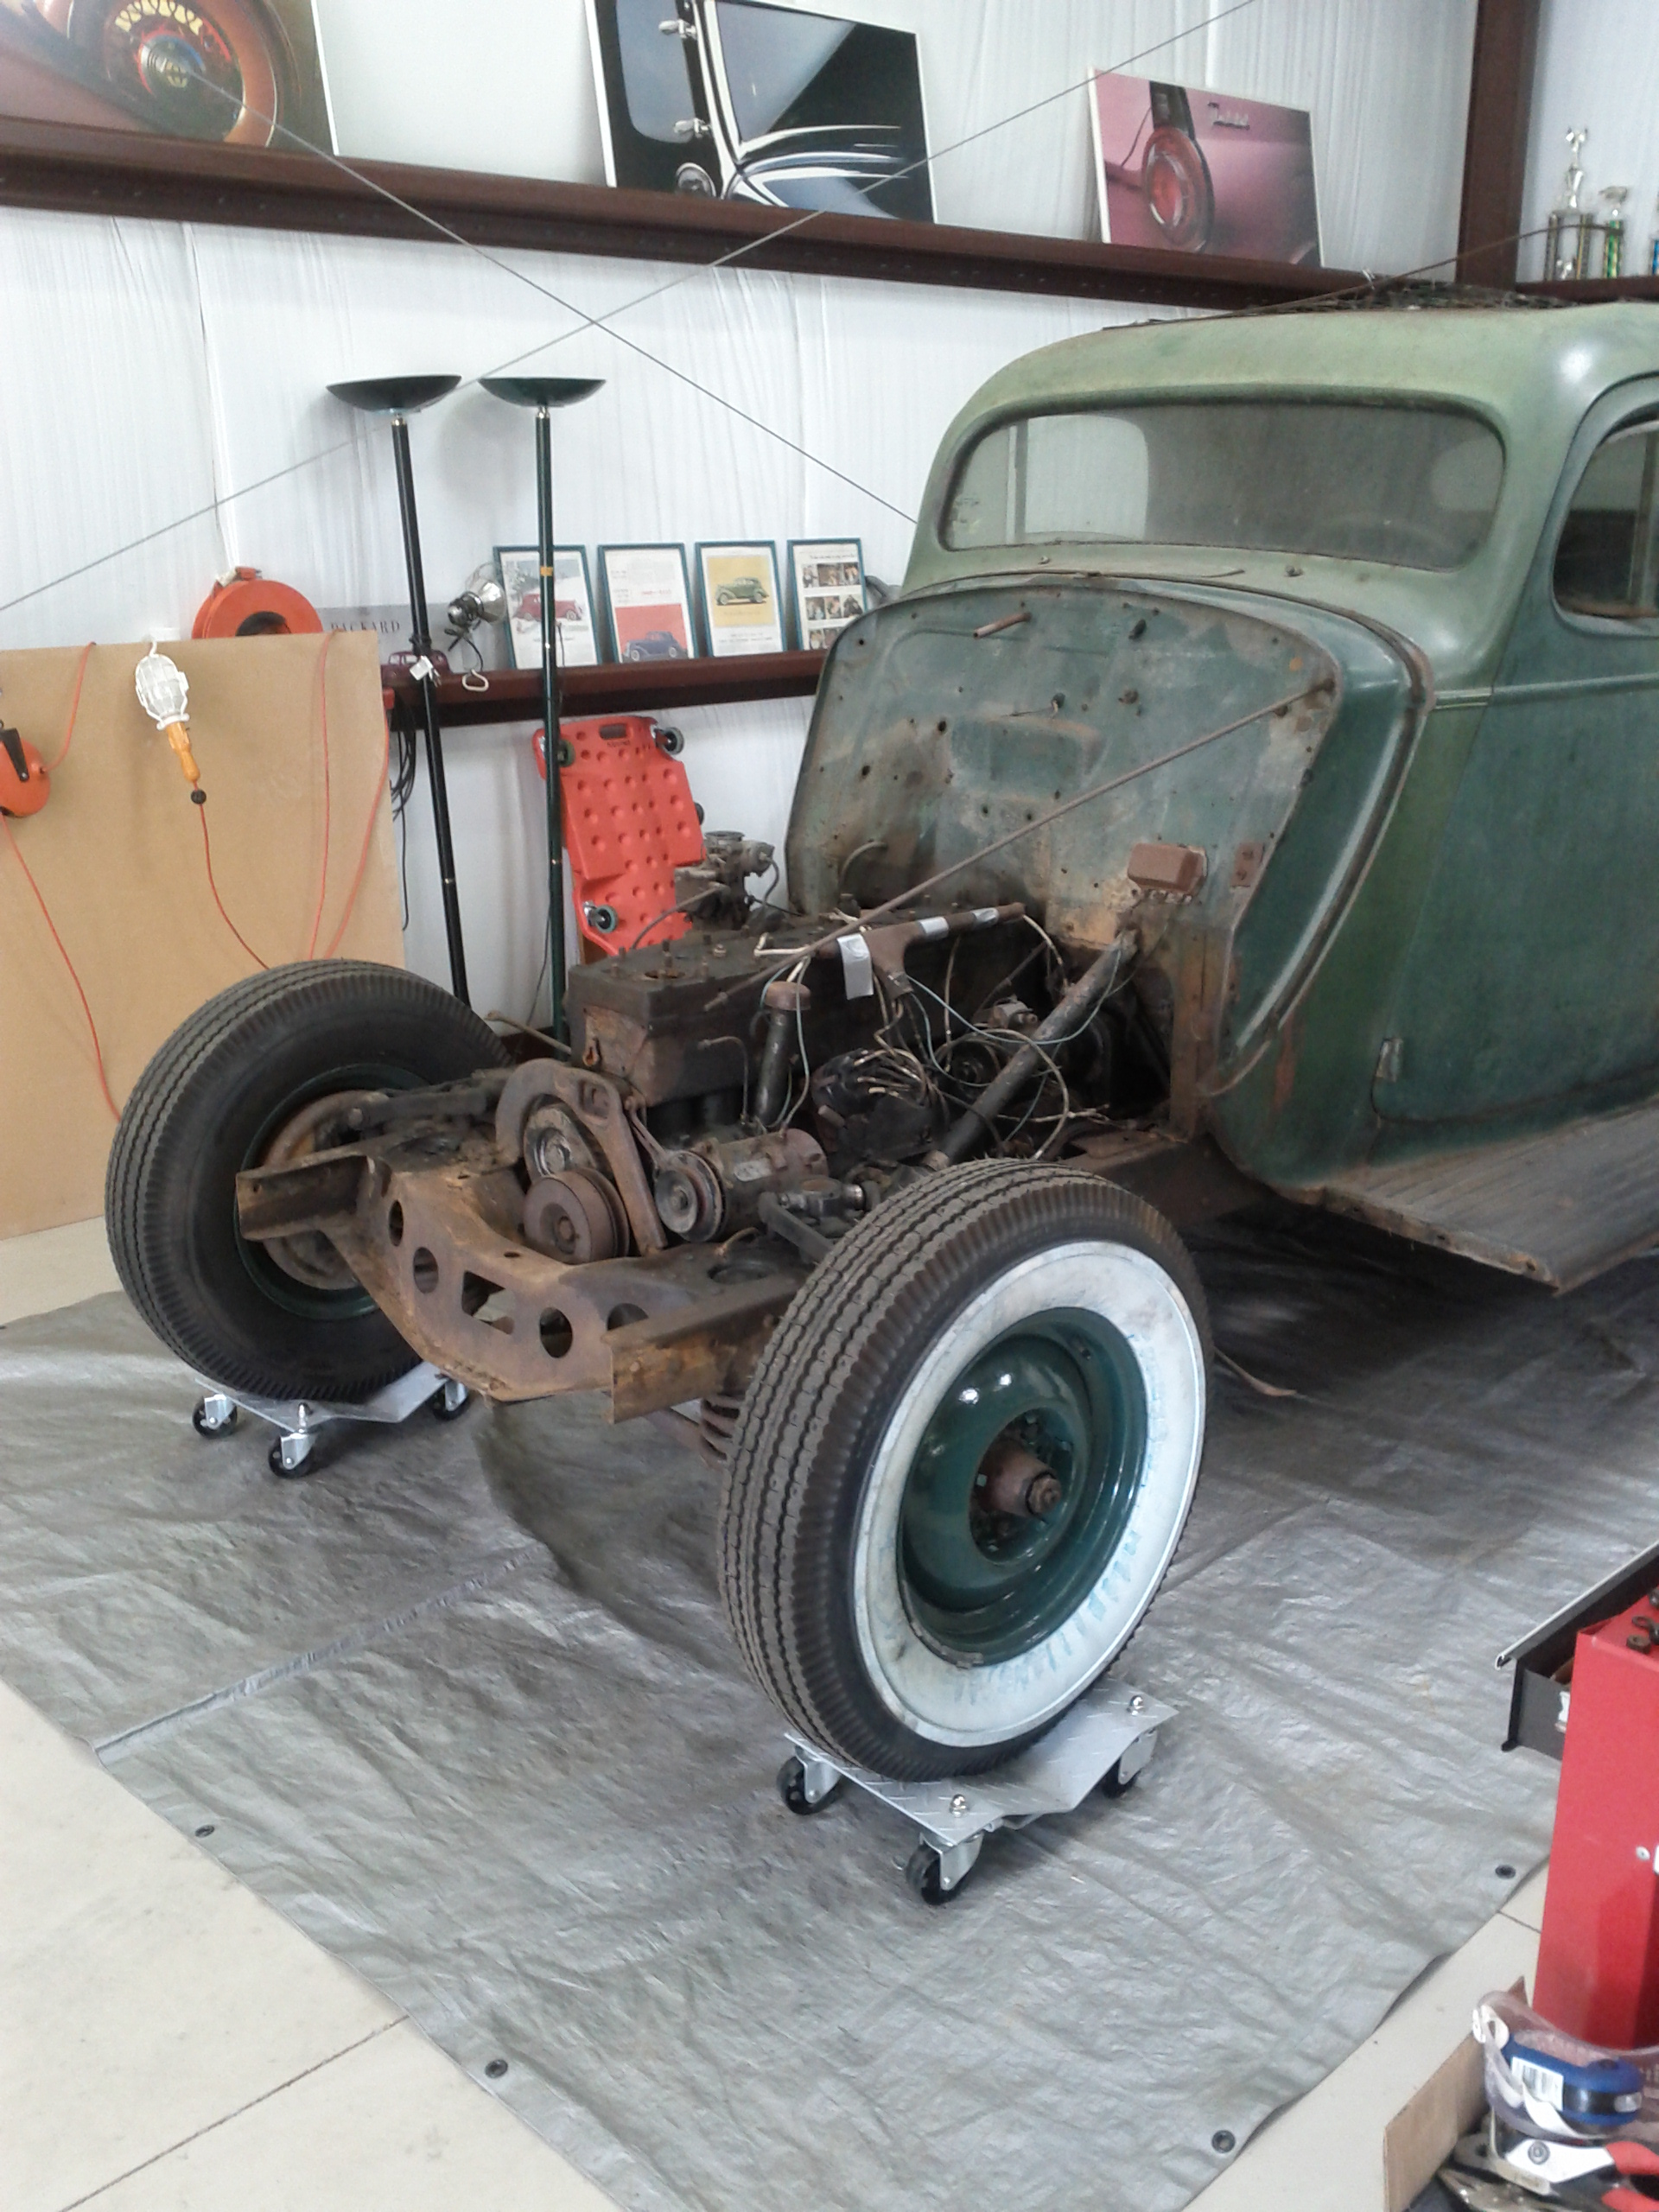
Clear view of the engineFeels like a lot of work done today! With the fenders and nose off we can get a really good look at the mechanicals. Nose and Engine - Side View

Side view of the engine compartment.  Next we pull off the headlights and remove the fenders.


1936 Packard Grill

1936 Packard Grill

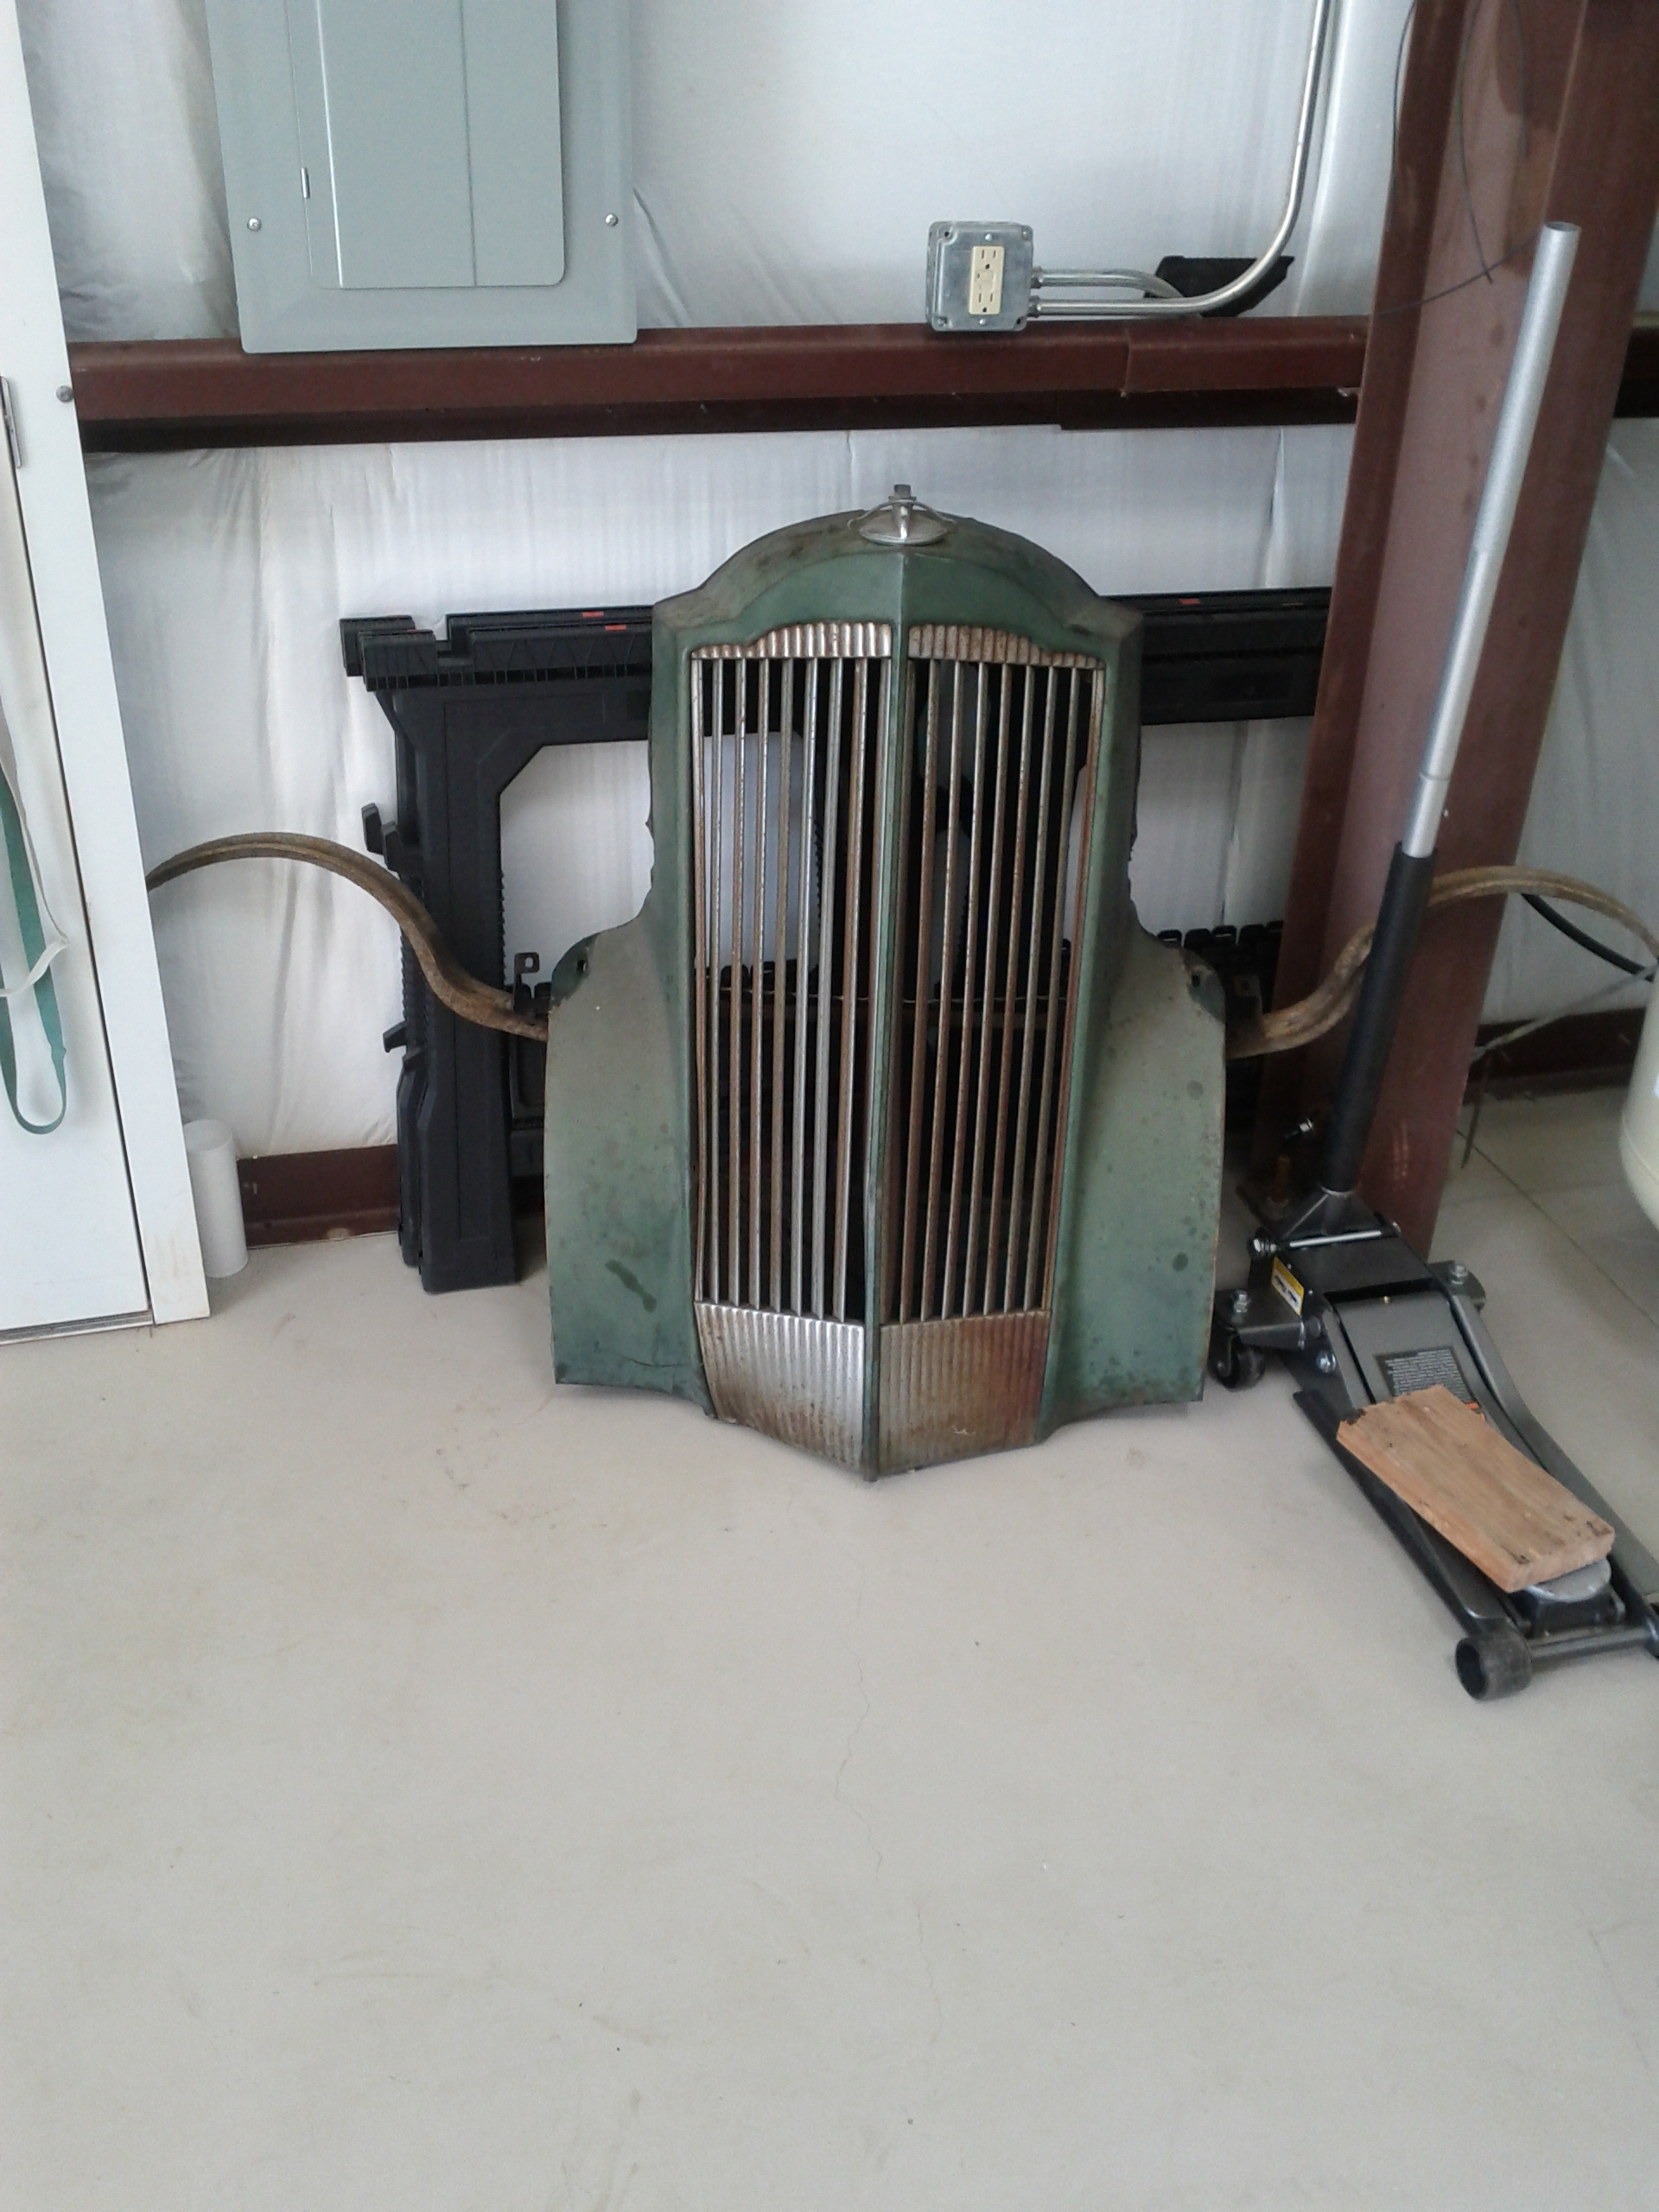
Here is the grill with the fenders removed.  You can see the fender mounts on either side.  The “wings” sticking out support most of the weight of the fender.  Also, the strips that cover the joint between the nose and fender were removed.  They came off in one piece and should be in great shape for re-chroming.


1936 Packard Fenders

1936 Packard Fenders

Here are the fenders removed.  I did not get a good shot of them individually. 


1936 Packard - No Nose
1936 Packard – No Nose

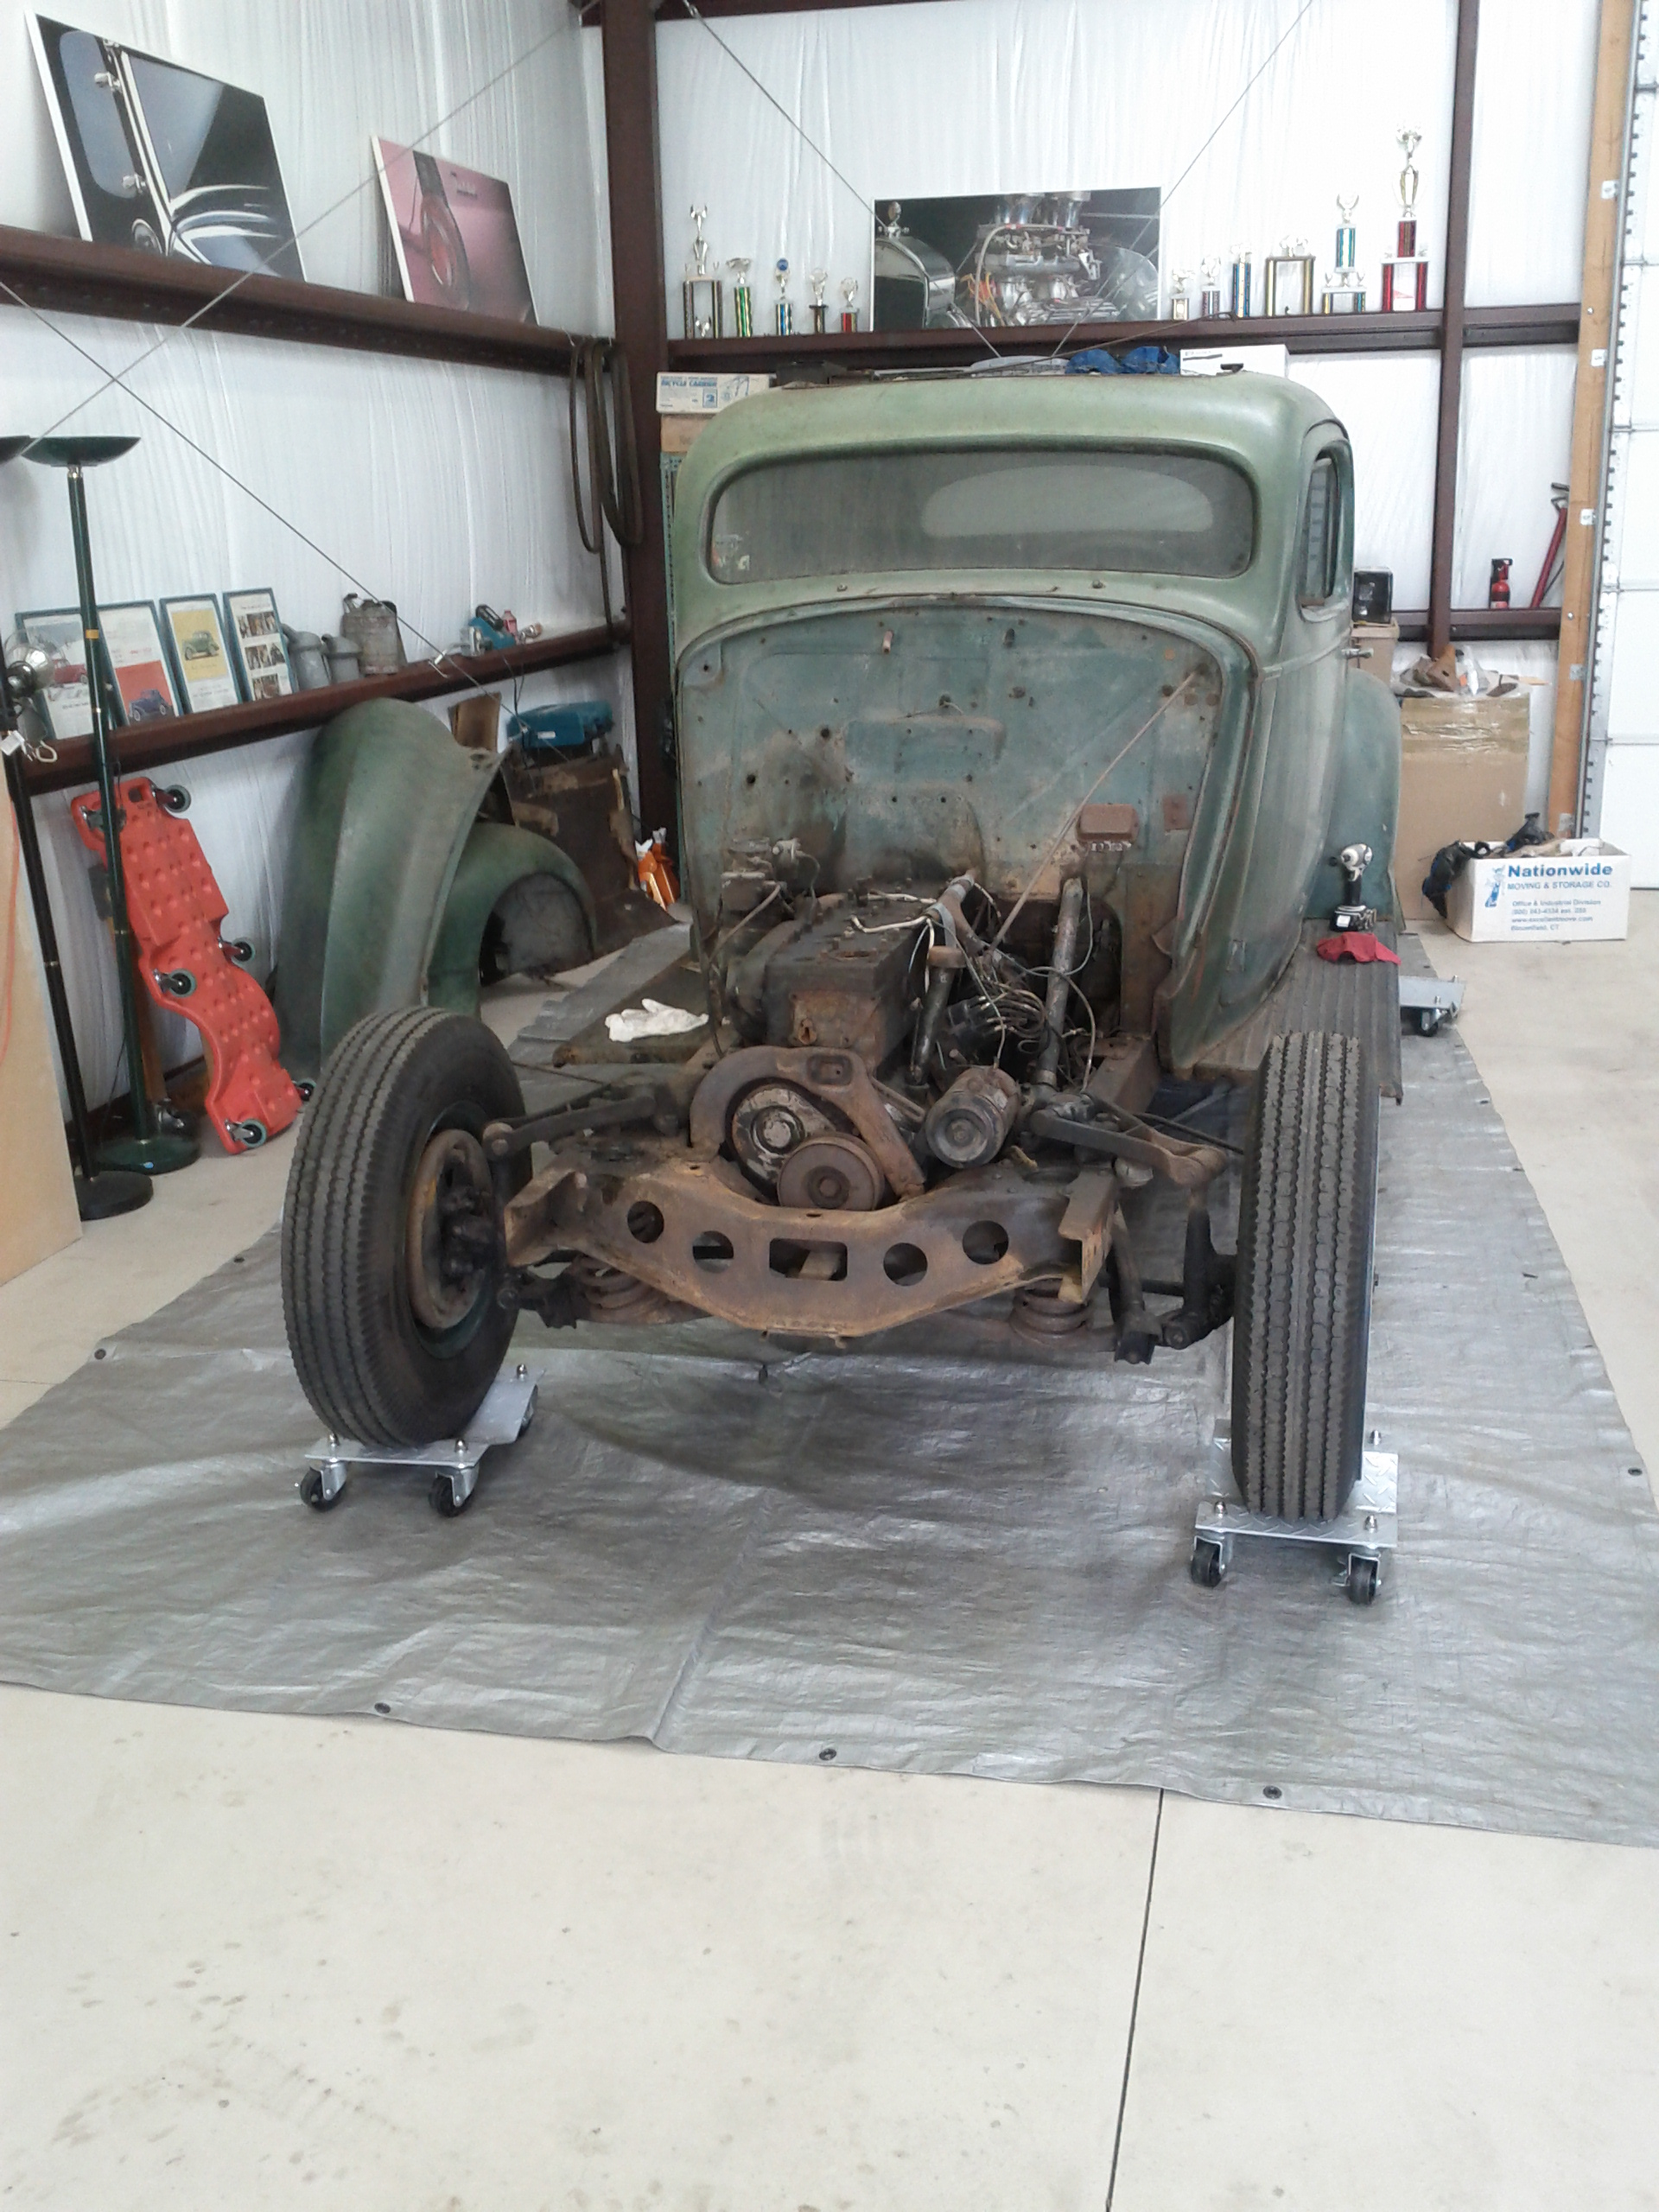
Nose and fenders out of the way.  You can see how well this car was made!  Frame still structurally sound.  Most of the parts still intact.  Since we will be modernizing most of the mechanicals in the car, we will remove all of these and part them out to other restoration projects. 

 
On a side note, if you are reading this and in need of any parts please contact me through the site.  Thanks!


1936 Packard - No Nose: Side View
1936 Packard – No Nose: Side View

Another view this time from the side.  Still a lot of work to be done.  Cannot wait to get my hands dirty again!

Posted in Project Post | Tagged , , | Leave a comment

March 10, 2012: Tear Down (cont.)

Bumper removed

Pulled the front bumper as part of the tear down

 
Continued the tear down process today.  The first order of business was to pull off the front bumper.  Looks like it has been removed at least once before as this was pretty easy to take off.  Just two bolts on each of the bumper brackets attached directly to the frame on the outside of the radiator housing.


Trunk, tail lights & bumper removed

Trunk, tail lights & bumper removed


The work continues with the removal of the trunk lid.  The lid is in great shape.  The wood frame for the lid needs some work.  Plan to meet with Bob Collings of HIRE A GUY to get an estimate on the repair work. 


1936 Packard Interior Rear View

1936 Packard Interior Rear View

 
You can see here where some of the interior wood frame has pulled apart.  We will also have to set up some time with Bob to come take a look at the repair work here as well.


1936 Packard Interior Front View

1936 Packard Interior Front View

View of the interior that includes the open soft top, the wood and metal frame, the dash, and steering column.  She is cleaning up nicely!  Removed the factory speaker and cleaned up all the misc debris from the floor boards.


1936 Packard Interior Front View

1936 Packard Interior Front View

 
Removed the bench seat, seat back, and package rack pannel.  You can see the wood inset into the frame here.  All the floor boards and the structure behind the seet are plywood.  All will need to be replaced.  The hole you see under where the drivers seat used to be is the battery compartment.  Most likely we will relocate the battery into the engine department.


1936 Packard Interior - Rear

1936 Packard Interior - Rear


A close up view of the of the interior rear with the seat removed.  We are going to have to modify the structure here.  The plan right now is to make the changes and remount the seat a little further back to accomodate my long legs.


Posted in Project Post | Tagged , , | Leave a comment

February 23, 2012: Roof Update

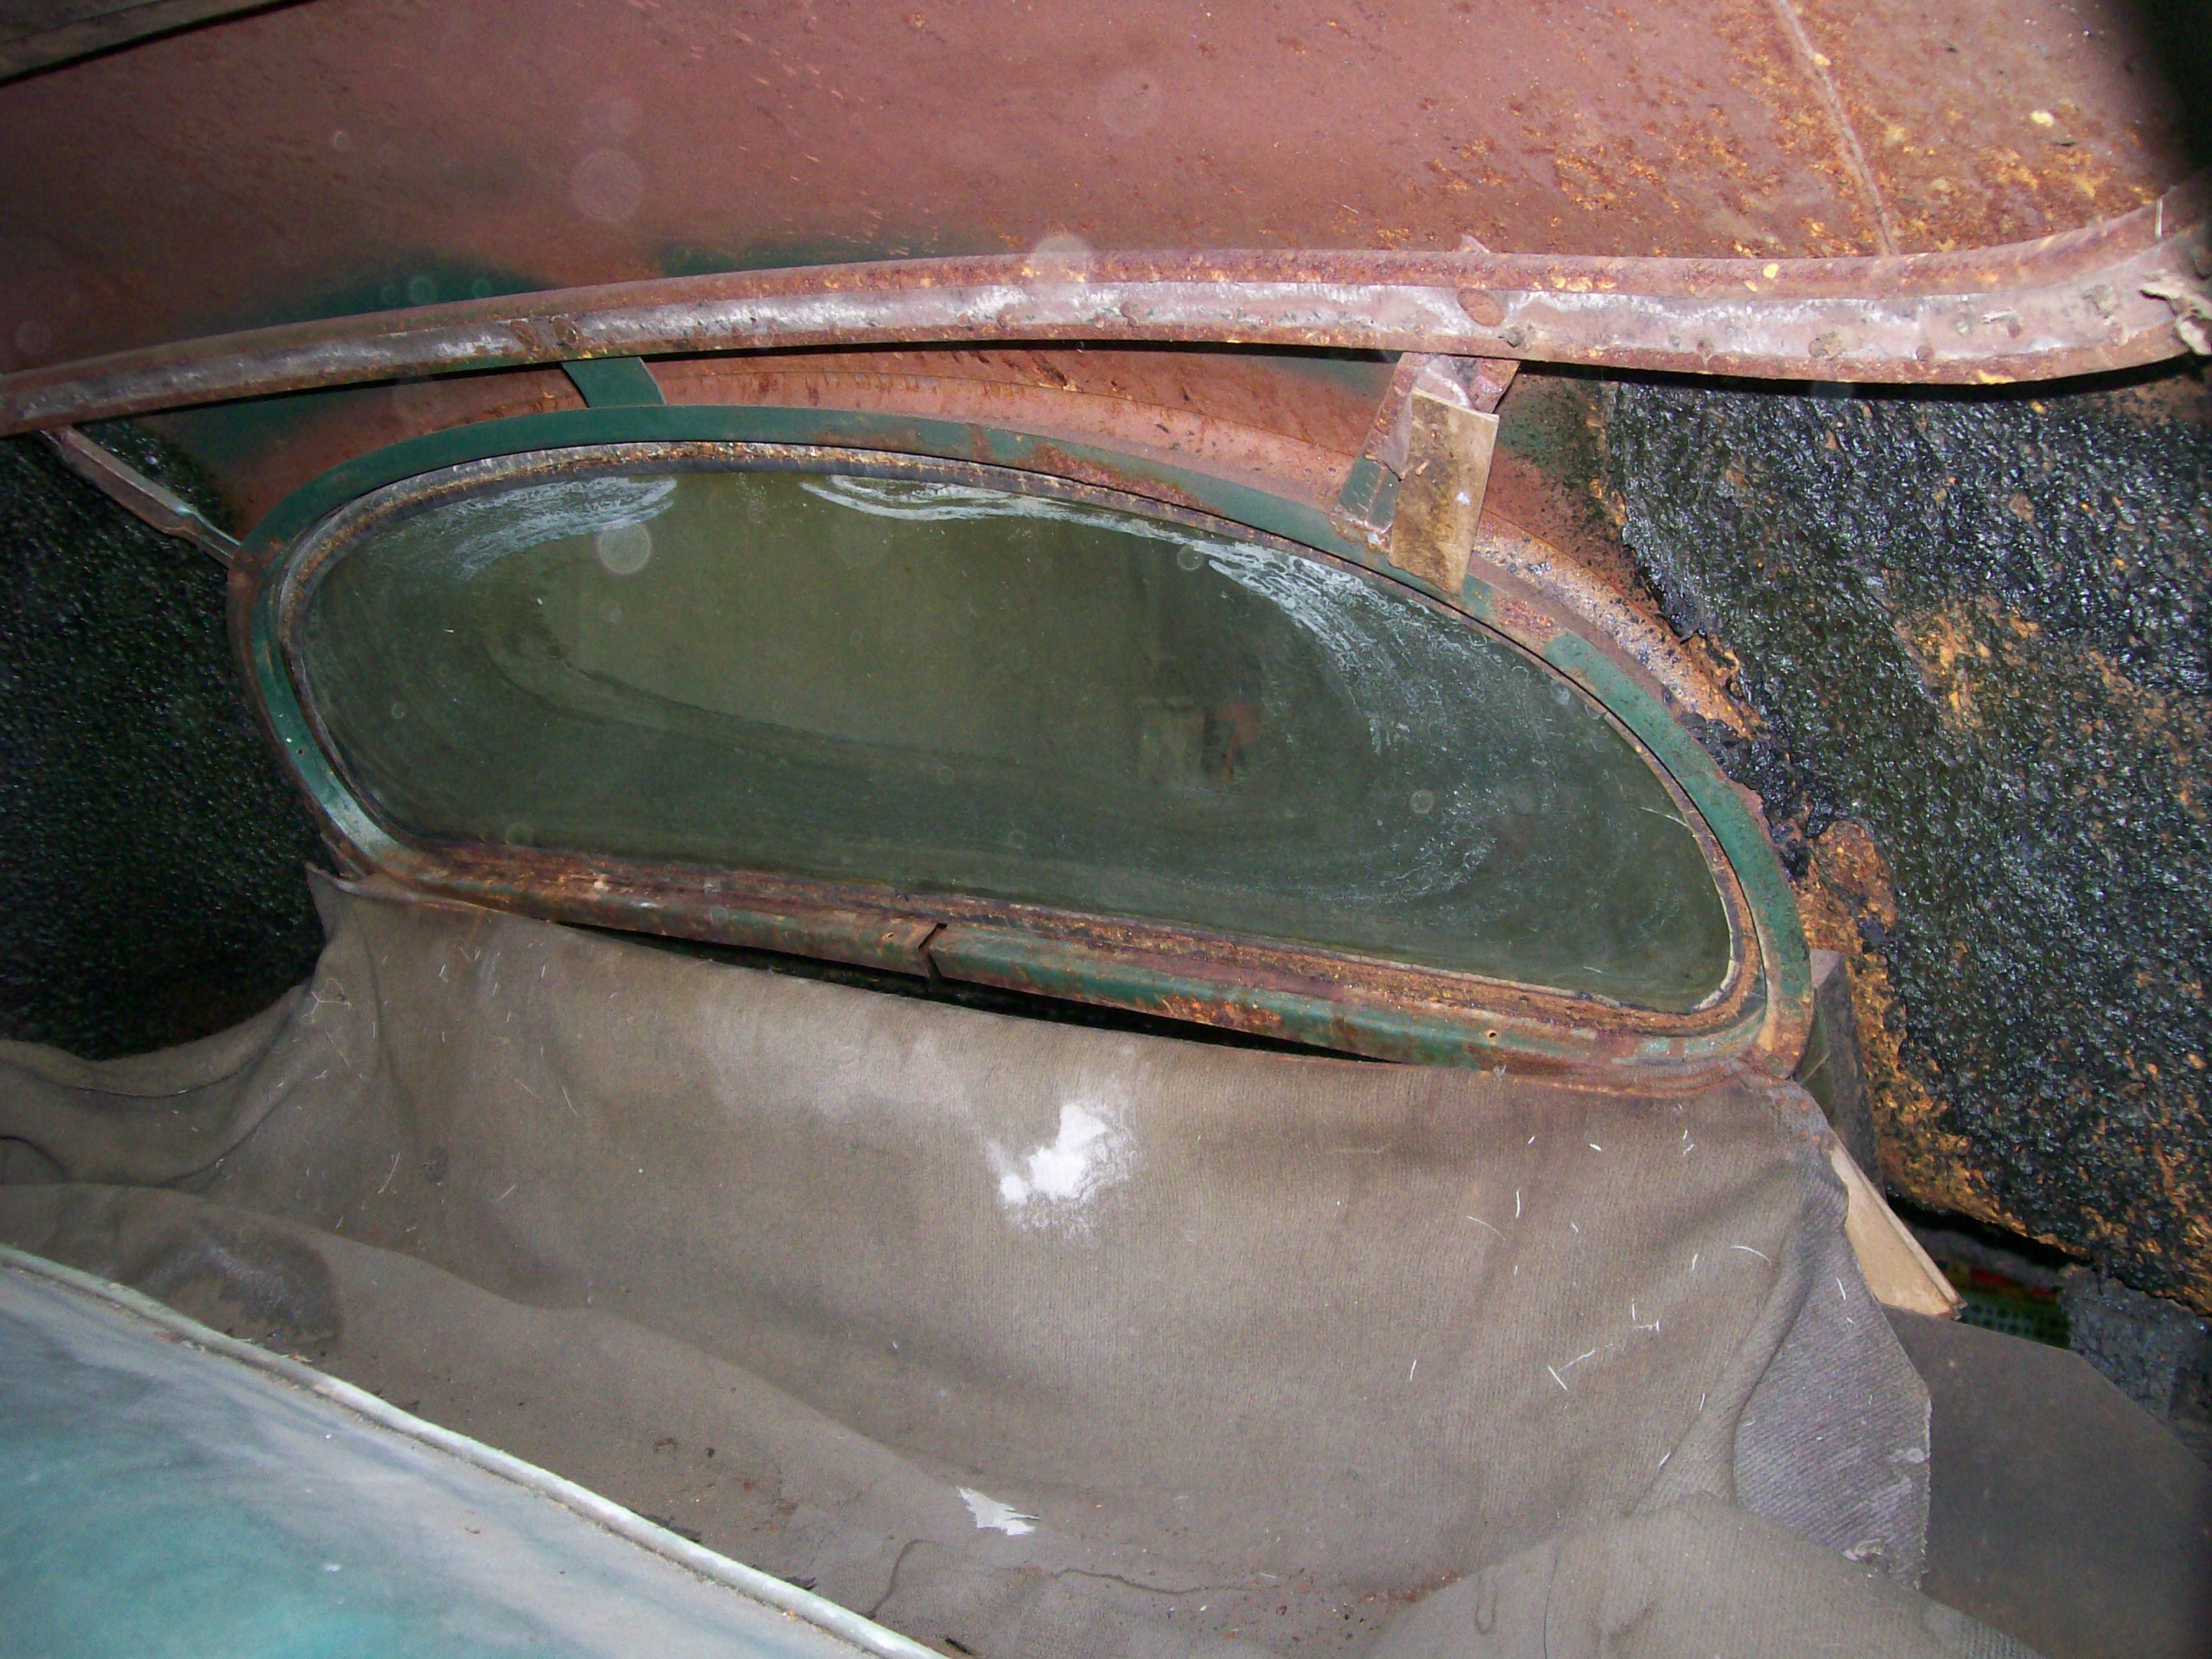
The roof of the 120B is a permanent soft top.  We are considering doing something special with that.    Here are a couple pictures of the opening currently.


Little bit of hard wood and some chicken wire.  Gotta love classic construction!


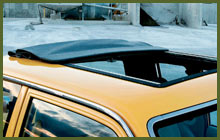
This is what we are currently thinking.  A sliding rag top!  When closed it will look very similar to the permanent soft top while adding the ability to open it up for cruising! 

More info at: http://www.slidingragtops.com/

Posted in Project Post | Tagged , , | Leave a comment

February 19, 2012: Windows


Here you can see the windshield from the inside.  We removed the visors, mirror, windshield molding and the upholstry.


Driver Side Interior Roof


Here you can see the close up of the driver side roof from the inside.  A combo of hardwoods wrapped in metal all in really good shape!


Rear Window


Same procedure of the rear window. Removed the window molding and 3 upholstry pannels.  One on each side and a header part across the top of the window.


Rear Window Molding


Here is what the window moldings look like.  This one in particular is the one we pulled from the rear window. 
 
Interesting piece of trivia here.  There was an add on feature for the rear window.  A privacy shade.  As you can see in the center of the picture there is a little “dent” in the molding.  This is where the hook of the shade attached to hold the shade in place.
Posted in Project Post | Tagged , , | Leave a comment

February 19, 2012: Doors

Before Picture of the Door


Work begins on the driver side door. Both the main window and the vent window work off of a crank. 
 
The third handle you see is the remote door lever.


Driver Side Door Stripped


Started by removing the interior window molding.  Noticed that the two screws at the top of the molding were phillips heads. Not period authentic!  Also, all the screws were missing the finish collars.
 
Notice on the door the welding marks?  Looks like the door was pulled apart so the window glass could be replaced.  Integrity is still good so we will just clean it up.


Passenger Side Door Stripped


Same for the passenger door.  Pulled the handles, molding, and pannel off.  In the center of the door is where you will see the stamp from the previous post.
 
We removed the wind lace that surrounds the door opening.
Posted in Project Post | Tagged , , | Leave a comment